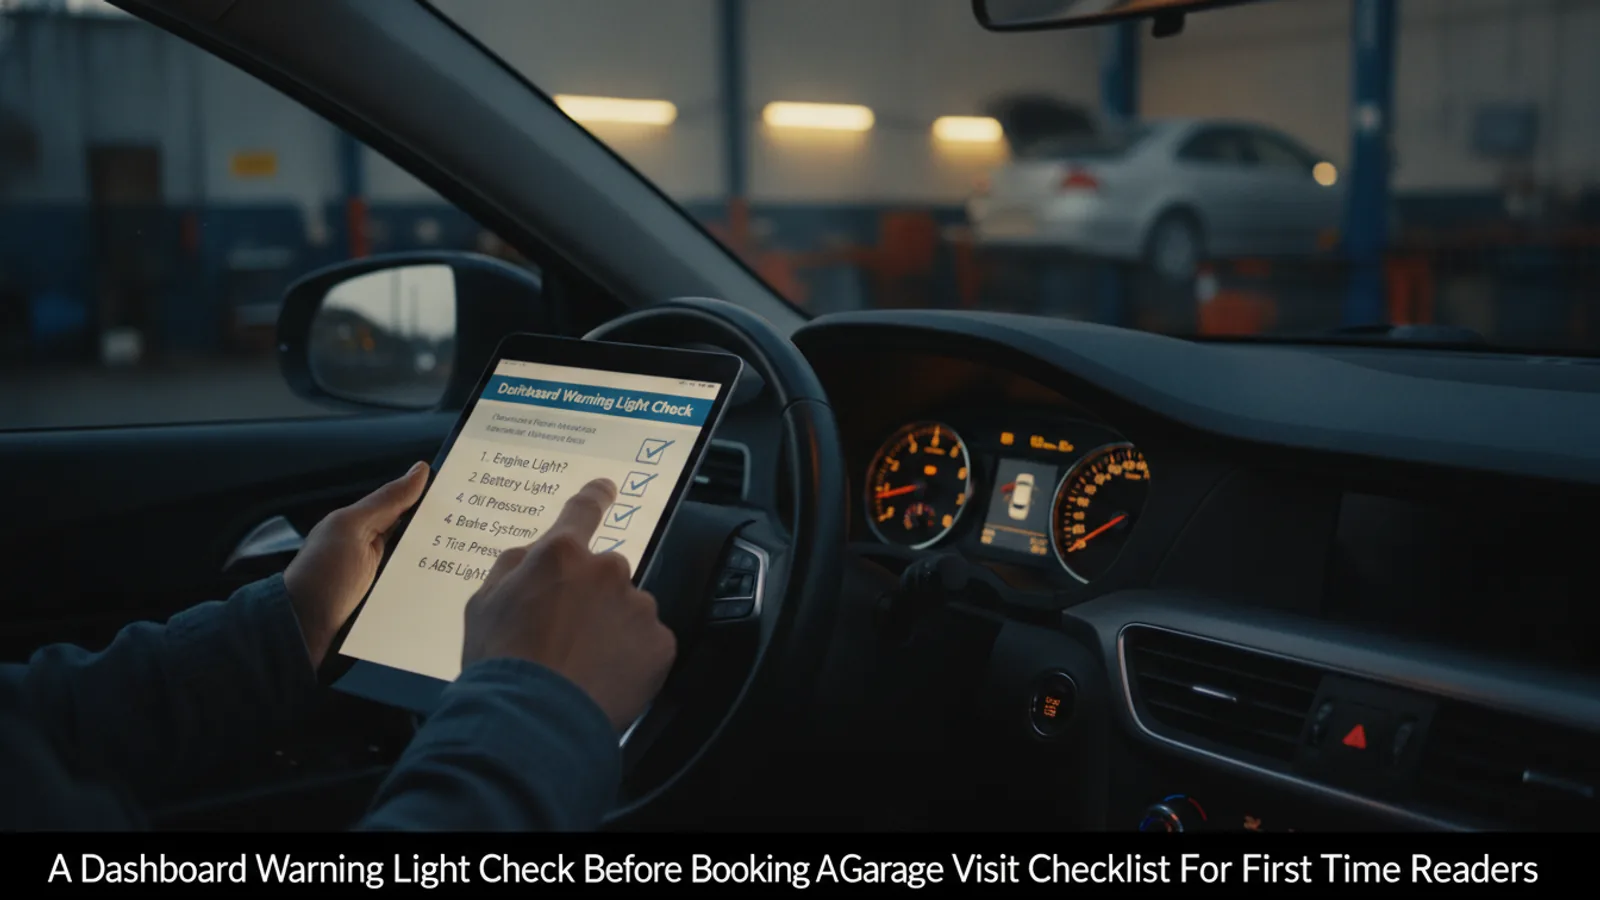
A Car Battery Check Before A Long Trip Checklist For First Time Readers
A practical step-by-step guide to a car-battery check before a long trip checklist for first-time readers, including preparation, instructions, common issues, tips, and next steps.

A Car Battery Check Before A Long Trip Checklist For First Time Readers
A car battery check before a long trip is a simple but essential safety step. A weak or failing battery can leave you stranded, especially after the strain of highway driving, temperature changes, and multiple short stops. This guide walks a first-time reader through a thorough pre-trip battery inspection, covering visual checks, terminal cleaning, voltage testing, load testing, and final verification. It also explains how to spot early warning signs like slow cranking or dim headlights, and what to do if you find a problem. By following the step-by-step process, you can catch issues beforehand, avoid breakdowns, and travel with greater confidence. The guide includes prep advice, quick reference tables, common issues, advanced tips, a final checklist, and frequently asked questions, all written in clear, plain English.
Fast Answer
- Quickly check the battery: Open the hood, inspect for corrosion or damage, ensure terminals are tight, and use a multimeter to see if the resting voltage reads at least 12.4 volts.
- If you have any doubt about the battery's health, take it to a professional for a load test. Load testing applies a simulated starting load to confirm the battery can actually deliver power, not just show a good voltage reading.
Before You Start
- Park on a level surface, turn off the engine, and let the vehicle sit for at least an hour (ideally overnight) so the battery's surface charge dissipates. This gives you a true resting voltage reading.
- Gather safety gear: insulated gloves, safety glasses, a wire brush or battery terminal cleaner, baking soda mixed with water for cleaning corrosion, a multimeter or voltmeter, and a wrench or socket set for terminal bolts.
- Read your car's owner’s manual to find the battery's exact location, any specific precautions (like disconnecting negative first), and the recommended replacement interval or cold-cranking-amps (CCA) rating for your battery.
- Check the battery's date code (usually a sticker or engraved number). If the battery is over three years old, it's more likely to fail, so plan extra time for a thorough check or consider having a professional test it.
Step-by-Step Instructions
Prepare the vehicle and gather your tools
Find a safe, flat place to park. Turn off the engine and all accessories like lights, radio, and climate control. Let the car sit for at least an hour—ideally overnight—so the battery can stabilize. This gives you an accurate resting voltage. While you wait, collect your safety gear: insulated gloves, safety glasses, a wire brush or a dedicated battery terminal cleaner, a mixture of baking soda and water, a multimeter or voltmeter, and the appropriate wrench or socket to loosen the terminal nuts. Read your owner's manual to locate the battery, especially if it's in a hidden spot. Also, note the battery's date code. If it's more than three years old, assume it might be weak. Preparing carefully ensures you can work safely and measure the battery's true condition, not a surface charge that can mislead you.
Perform a visual inspection of the battery
Look at the battery case for cracks, bulges, or leaks. Check the top for dirt, moisture, or corrosion. Examine the terminal posts and cable clamps for white, green, or blue crusty deposits—a sign of corrosion. Ensure the cables are tightly attached; you should not be able to twist them by hand. If the battery has removable caps (older types), check the electrolyte level, which should cover the plates. If it's low, top up with distilled water, not tap water. Also inspect the battery hold-down bracket; a battery that moves can damage internals. If you see any damage, heavy corrosion, or cracks, the battery may be failing and could leak acid or cause a short. In that case, replace or have it serviced by a professional before any trip. A visual check helps you catch obvious problems early, preventing hazardous failures on the road.
Clean the battery terminals and cables
Disconnect the negative terminal first (the one marked with a minus, often a black cap), then the positive. Use a wrench to loosen the bolt on the clamp and gently twist the clamp to free the post. Remove the cables. Prepare a mixture of baking soda and water (about one tablespoon of baking soda to one cup of water). Use a stiff wire brush or an old toothbrush to scrub the terminal posts and the inside of the clamps to remove corrosion. Rinse with clean water, but avoid getting water into the battery cells. Wipe dry with a rag. For heavily corroded terminals, you may need a terminal cleaner tool. After cleaning, apply a thin layer of petroleum jelly to the terminals to help prevent future corrosion. Reconnect the positive terminal first, then negative. Tighten the bolts firmly—not overtightening, to avoid cracking the post. This ensures a good electrical connection, which is vital for sufficient power flow. Poor connections cause voltage drops and slow cranking.
Measure the battery's resting voltage
Set your multimeter to DC voltage (usually 20V range). Touch the red probe to the positive terminal and the black probe to the negative terminal. Read the voltage. A fully charged battery should read about 12.6 volts or higher. If it reads 12.4 volts, it's about 75% charged—you'll want to charge it before the trip. If it reads below 12.2 volts, the battery is significantly discharged and may need charging or replacement. This resting voltage test gives a rough idea of state of charge, not health. A battery with 12.6 volts might still be weak internally. Do this test after the car has been off for at least an hour. If the voltage is low, try charging the battery fully and re-testing. If it holds at 12.6 volts after a full charge, it might be fine. But if it drops quickly, it's a sign of an internal problem. This measurement helps you decide if further testing is needed.
Check the battery under a simulated load
A simple load test you can do is to turn on the headlights (set to high beam) and cabin fan to high for about five minutes. Then, while keeping those on, measure the battery voltage. It should stay above 10.5 volts. If it drops lower, the battery may be weak. A more accurate method is to use a battery load tester, but many home mechanics don't have one. However, you can watch how the engine cranks: if it cranks slowly, or if the dashboard lights dip very low when you start, that's a sign of trouble. For a definitive test, take the battery to a parts store or service center—they have electronic testers that simulate a cold cranking amp load. They can tell you the battery's actual health and if it needs replacement. This step is optional but highly recommended before a long trip because a battery can pass a resting voltage test yet fail under real startup strain, especially in cold weather.
Perform a final visual and performance check
With the engine running, measure the voltage at the battery terminals. It should be between 13.7 and 14.7 volts—this indicates the alternator is charging correctly. If it's lower, the charging system might be faulty. While the engine runs, inspect the battery for any signs of excessive heat, bubbling, or foul smells (like rotten eggs). Turn off the engine and then try starting the car again to ensure the battery quickly engages the starter with a crisp sound. Also, check that the battery is secured in its tray and that the cables are routed away from moving parts. Look at the battery's lights and other electronics—if they flicker, that could indicate a poor connection. Finally, revisit the battery's case for any new cracks or leaks. This comprehensive check confirms that the battery, cables, and charging system work together smoothly. A successful final check gives you confidence that your battery won't be the weak link on your journey.
Quick Reference
| Situation | Action | Why it helps |
|---|---|---|
| Before leaving for a long trip, you notice the engine cranks slowly or sounds labored. | Immediately pull over in a safe spot, turn off the engine, and visually inspect the battery terminals for corrosion or looseness. If they look dirty or loose, clean and tighten them. Then call a professional for a load test before continuing, or plan to get the battery replaced. | Slow cranking is one of the first signs of a weak battery. A poor connection can mimic a weak battery, but a load test will reveal the true condition. It's better to catch it now than to break down in a remote area. |
| The battery's resting voltage is less than 12.2 volts after a full charge and overnight rest. | Take the battery to a professional for a load test and charging system check. If the battery fails, ask for a replacement that meets your car's original specifications, and have the alternator tested to ensure it's charging properly. | A low resting voltage after a full charge indicates the battery cannot hold a charge, which means it may fail unexpectedly. Replacement is often more cost-effective than attempting a problematic battery on a long trip. |
| You see severe corrosion or a cracked battery case while checking before a trip. | Do not touch the battery with bare hands. Put on gloves and safety glasses, then carefully disconnect the negative terminal first, followed by the positive, using insulated tools. Do not eat or drink nearby. Neutralize any acid spill with baking soda, then take the battery to a professional for disposal and replacement. | Cracked cases can leak acid, which is corrosive and dangerous. Touching it can cause chemical burns. Handling it incorrectly risks a short circuit that could cause sparks or an explosion. Professional handling ensures safety. |
Common Issues
- Corrosion on battery terminals appears as a white, green, or blue crusty substance, leading to poor connections: Disconnect the cables (negative first), clean the terminals and clamps with a mixture of baking soda and water and a wire brush, then rinse and dry. Apply a small amount of petroleum jelly to the terminals to slow down future corrosion. Ensure cables are tight.
- Battery tests okay at rest but fails under load, showing symptoms like dimming headlights or slow cranking: Take the battery to a professional for an electronic load test. If it fails, replace the battery with one that matches the manufacturer's recommended group size and cold-cranking amps (CCA). Check the alternator output as well, as a faulty alternator can drain a good battery.
- The battery voltage reads fine when the engine is off, but the charging system doesn't bring it above 13.7 volts when running: This indicates a possible alternator or charging system issue. First, check the drive belt for wear and tension. Then test the alternator's output with a multimeter at the battery terminals. If it's below spec, the alternator may need repair or replacement—have a professional diagnose and fix it.
Advanced Tips
- Before a long trip, consider having the battery's cold-cranking amps (CCA) tested by a professional. A drop below 75% of the rated CCA is a strong sign the battery is nearing the end of its life.
- If you live in a hot or cold climate, extreme temperatures stress batteries more. Plan to replace your battery every three to five years depending on your environment, even if it seems to work.
- If you're storing the car for more than a month, use a trickle charger or maintainer to keep the battery at full charge. A deeply discharged battery can sulfate and lose capacity permanently.
Final Checklist
- Verify the battery case is free of cracks, leaks, or bulges, and that the hold-down bracket is secure.
- Confirm there is no visible corrosion on the terminals or cables, and that both clamps are tight on the posts.
- Measure the resting voltage with a multimeter after the car has been off for a few hours—it should read at least 12.4 volts.
- Perform a load test (at home or professionally) to ensure the battery can deliver enough power to start the engine reliably, especially in cold weather.
FAQ
How often should I check my car battery?
You should do a basic visual check every few months, and a full voltage and load test at least once a year, or before a long trip. If your battery is over three years old, test it more frequently—every six months—since batteries degrade faster as they age. Also, if you notice slow cranking or dim lights, check it immediately.
What is the minimum voltage to start a car?
Most cars need at least 12.2 volts to start, but that is a low limit. A fully charged battery reads 12.6 volts. When the engine cranks, voltage may drop to 10 volts briefly, but it should not drop below that. If your battery reads under 12.4 volts at rest, it's wise to charge it or have it tested before a long trip.
Can I jump-start my car and then drive for hours?
Jump-starting can get you running, but it does not fully charge a deeply discharged battery. The alternator will charge it some, but it may take many hours of driving to fully recharge. However, if the battery is failing, it may not hold a charge, so you risk stalling later. It's better to get the battery tested or replaced before a long trip, not rely on jump-starts.