Common Mistakes When Planning A Car Battery Check Before A Long Trip
A practical step-by-step guide to common mistakes when planning a car-battery check before a long trip, including preparation, instructions, common issues, tips, and next steps.
Common Mistakes When Planning A Car Battery Check Before A Long Trip
Planning a car-battery check before a long trip is about more than turning the key; it involves checking the battery's health, terminals, charging system, and ensuring the car is ready for varied conditions. Many drivers make mistakes like ignoring corrosion, forgetting to test the alternator, or not cleaning terminals properly. This guide outlines common pitfalls and provides step-by-step instructions to help you prepare your battery, avoid breakdowns, and travel with confidence. By following this guide, you'll learn how to inspect, test, and maintain your battery so that it performs reliably throughout your journey.
Fast Answer
- To plan a car-battery check before a long trip, start by visually inspecting the battery for corrosion or damage, then test the battery's voltage and condition with a multimeter or battery tester. Clean any corrosion with a wire brush, ensure the terminals are tight, and have the charging system tested by a professional if you lack the tools.
- A thorough pre-trip battery check includes checking the battery's age, testing its charge level, cleaning terminals, verifying the alternator's output, and examining the battery case for cracks or bulges. If the battery is over four years old or shows any weakness, consider replacing it before your trip to avoid unexpected failure.
Before You Start
- Gather the necessary tools: a wire brush or battery terminal cleaner, a wrench or socket set for loosening terminal clamps, a digital multimeter or battery tester, baking soda mixed with water for cleaning corrosion, and a pair of safety gloves and goggles to protect your eyes and hands from acid residue.
- Find your car's manual to locate the battery and understand any specific instructions for your vehicle, such as the battery type or terminal configuration (top-post or side-post). Some cars have the battery in the trunk or under a cover, so consult the manual to access it safely.
- Plan to do the check when the car has been off for at least a few hours, ideally overnight, to get an accurate resting voltage reading. A battery that has just been charged or used will show a higher voltage that doesn't reflect its true condition.
- Decide on a test method: you can use a simple digital multimeter to measure voltage, but a dedicated battery load tester is better for checking capacity under simulated load. Many auto parts stores offer free testing, so you might plan to visit one for a professional assessment.
Step-by-Step Instructions
Visual Inspection and Safety Preparation
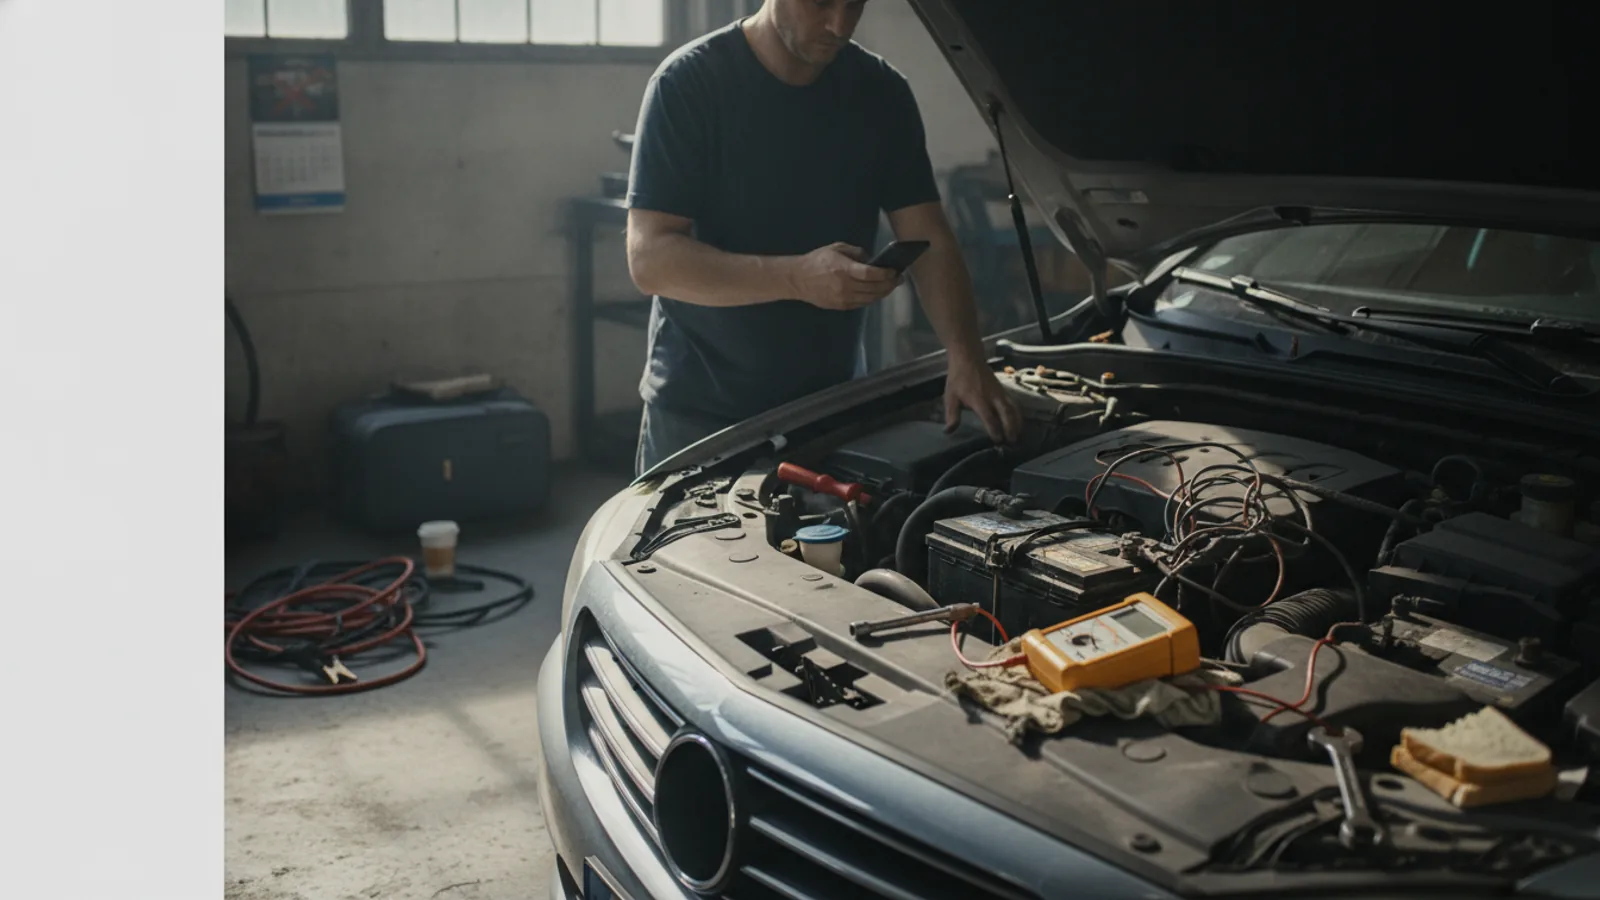
Begin by popping the hood and locating the battery. First, ensure the car is completely off and the keys are out of the ignition. Put on your gloves and goggles. Look for any obvious damage: cracks in the battery case, bulges, or leaking fluid. Then examine the terminals and cables for corrosion, which appears as a white or bluish powdery substance. Also check the battery hold-down bracket to ensure the battery is securely fastened. If you see corrosion, note that you'll need to clean it later. Additionally, check for frayed or worn cables. If the battery case is cracked or bulging, it's unsafe and must be replaced immediately. This visual inspection is crucial because it can reveal serious issues before you even test the electrical state. A cracked case can leak acid and damage the car, while corrosion can interrupt the flow of electricity, causing starting problems. If you notice anything beyond minor surface corrosion, stop and consult a professional.
Clean the Battery Terminals
Before testing, it's essential to clean any corrosion from the terminals and cable clamps. Corrosion can hinder the battery's ability to deliver current, even if the battery itself is healthy. Mix a solution of one tablespoon of baking soda to one cup of water in a small container. Use a wire brush or a dedicated terminal cleaner to scrub the terminals and the inside of the cable clamps. Dip the brush in the baking soda solution to help neutralize acid. Continue until the metal is shiny. After scrubbing, rinse the area with plain water from a spray bottle, being careful not to get water into the battery cells. Dry the terminals with a clean rag. Then inspect the cables for any cracks or looseness. If the cables are severely corroded or damaged, you may need to replace them. Cleaning the terminals is a simple maintenance task that can prevent many starting problems. A clean, tight connection ensures that the electrical current can flow freely from the battery to the starter and the rest of the vehicle.
Test the Battery's Resting Voltage
With the car still off, set your digital multimeter to DC voltage and connect the red probe to the positive terminal and the black probe to the negative terminal. Read the voltage. A fully charged, healthy battery should read about 12.6 volts or higher. A reading of 12.4 volts indicates a charge of about 75 percent, and anything below 12.2 volts means the battery is partially discharged and needs to be charged or tested further. If the voltage is below 12.0 volts, the battery may be deeply discharged or failing. This resting voltage test gives you a baseline. If the reading is low, you might consider charging the battery first and then retesting, or you may need a professional load test to determine if the battery can hold a charge. This measurement helps you identify whether the issue is a drained battery or a battery that no longer holds a charge. It's a quick diagnostic that can guide your next steps.
Perform a Load Test
A resting voltage test doesn't tell you if the battery can deliver current under load. A load test simulates the strain of starting the engine. You can use a hand-held load tester, or you can take the battery to a service center that has a professional tester. If you have a load tester, follow the manufacturer's instructions: connect the clamps properly, press the test button, and read the result. Typically, a battery should maintain at least 9.6 volts under a load that is about half of its cold cranking amp rating for 15 seconds. If the voltage drops below this, the battery is weak and likely needs replacement. Alternatively, many auto parts stores will test the battery for free, so you can remove the battery and take it there. This step is critical because a battery might show a good resting voltage but fail under the high current demand of starting the engine. A load test reveals the true health of the battery and helps you avoid being stranded.
Inspect the Charging System
The battery is only part of the charging system; the alternator must charge the battery while the engine runs. To check the alternator, start the engine and let it idle. With the multimeter set to DC voltage, connect the probes to the battery terminals. You should see a reading between 13.8 and 14.4 volts when the alternator is functioning correctly. If the voltage is below 13.5 volts or above 14.8 volts, the alternator may not be charging properly or may be overcharging, which can damage the battery. Also, turn on the headlights and the HVAC blower to put a load on the system, and the voltage should stay stable. If you notice fluctuating voltage or if the battery light on the dashboard is on, there may be an issue with the alternator or the wiring. Checking the charging system ensures that your battery will be replenished during the drive. A faulty alternator can leave you with a dead battery even if the battery itself is new.
Assess Battery Age and Decide on Replacement
Batteries typically last between three and five years, but this varies with usage, climate, and maintenance. Check the battery's manufacturing date, which is usually a code on the case. It typically consists of a letter (A for January, B for February, etc.) and a number (1-9 or 0 for October, 1 for November, 2 for December). For example, 'A5' means January 2015. If your battery is older than four years, it's wise to consider replacing it before a long trip, especially if it shows any signs of weakness. Even if the tests look good, an old battery has a higher risk of sudden failure. Additionally, if you live in a hot climate, batteries have a shorter lifespan. A proactive replacement can save you from the inconvenience of a breakdown far from home. When replacing the battery, ensure you get one that meets your car's required specifications, such as size, terminal type, and cold cranking amps, as listed in the owner's manual.
Quick Reference
| Situation | Action | Why it helps |
|---|---|---|
| You see white or blue powder on the battery terminals. | Clean the terminals with a wire brush and a baking soda solution, then rinse and dry. Apply petroleum jelly to protect them. | Corrosion acts as insulation, blocking the flow of electricity and can lead to starting failure. |
| The resting voltage is below 12.2 volts. | Charge the battery fully with a battery charger, then retest. If the voltage doesn't recover, have it load-tested. | A low voltage indicates a discharged or unhealthy battery that may not start the car reliably. |
| The battery is over four years old and you're heading on a long trip. | Have the battery professionally load-tested and check the manufacturing date. If it fails or is close to five years, replace it. | Older batteries have higher failure rates, especially under the stress of long drives and temperature changes. |
Common Issues
- Loose battery cable connections cause intermittent starting problems.: Inspect the cable clamps and tighten them securely using a wrench. Ensure the clamp is around the terminal post snugly and cannot be wiggled by hand.
- A battery load tester is not available at home.: Visit a local auto parts store or a mechanic to have the battery tested professionally. Many places offer free battery checks, or you can use a multimeter to do a basic voltage test as an alternative.
- The alternator belt is worn, affecting charging.: Check the belt's tension and condition; if it's cracked, shiny, or loose, replace it. Refer to the car's service manual for the correct belt replacement procedure.
Advanced Tips
- Use a trickle charger or maintainer if your car will be parked for several weeks before the trip; this keeps the battery fully charged and prevents sulfation, which reduces battery life.
- If you're traveling to a colder climate, remember that battery performance drops with temperature; you might need to ensure the battery is in top condition and consider a battery warmer in extreme cold if recommended by your vehicle's manual.
- Keep a portable jump starter in the car, not just jumper cables, because it allows you to restart a dead battery without needing another vehicle.
Final Checklist
- Confirm the battery terminals are clean, tight, and protected with a corrosion inhibitor.
- Verify the battery's resting voltage is at least 12.4 volts, and ideally 12.6 volts.
- Have the battery load-tested and the alternator output checked if you have any doubts.
- If the battery is older than three years, evaluate whether replacement is a wise precaution before your trip.
FAQ
What is the most common mistake car owners make when checking their battery before a trip?
The most common mistake is only looking at the battery's age or the dashboard lights, and not actually testing the electrical health. Many people overlook terminal corrosion or loose connections, which can cause the same symptoms as a dead battery. Also, they often forget to test the alternator, allowing a charging issue to go undetected.
Can I use a simple voltmeter to check if my battery is in good condition?
Yes, a digital multimeter can measure the resting voltage, which gives a basic indication of charge. However, it cannot measure the battery's capacity or how it behaves under load. For a thorough check, you should also perform a load test or have it done professionally, especially before a long trip.
How often should I have my car battery tested?
It's a good practice to test your battery twice a year, especially before seasonal changes such as winter and summer. Additionally, if you notice any signs of weakness like slow cranking or dim headlights, you should test it immediately. Regular testing helps catch aging batteries early and prevents unexpected failures.