How To Choose A Dashboard Warning Light Check Before Booking A Garage Visit
A practical step-by-step guide to how to choose a dashboard-warning-light check before booking a garage visit, including preparation, instructions, common issues, tips, and next steps.
How To Choose A Dashboard Warning Light Check Before Booking A Garage Visit
Before you book a garage visit for a dashboard warning light, take a few minutes to diagnose the issue yourself. This guide shows you how to safely check the most common warning lights, understand what they mean, and decide whether you can handle the fix or need a professional. By following these steps, you'll avoid unnecessary trips, save time, and enter the garage with a clear idea of the problem, which helps the mechanic work faster and reduces the chance of misdiagnosis.
Fast Answer
- Check your owner's manual to identify the exact warning light and its meaning; this tells you the severity and whether it's safe to drive.
- Perform simple checks like tightening the fuel cap, checking oil level, and inspecting tire pressure before booking, as these often trigger warning lights and have easy fixes.
Before You Start
- Locate your vehicle's owner's manual and keep it in the car; it provides the specific meaning of each warning light for your make and model.
- Find the diagnostic port under the dashboard; you may need an OBD-II scanner to read fault codes, which you can borrow from an auto parts store or purchase at a moderate cost.
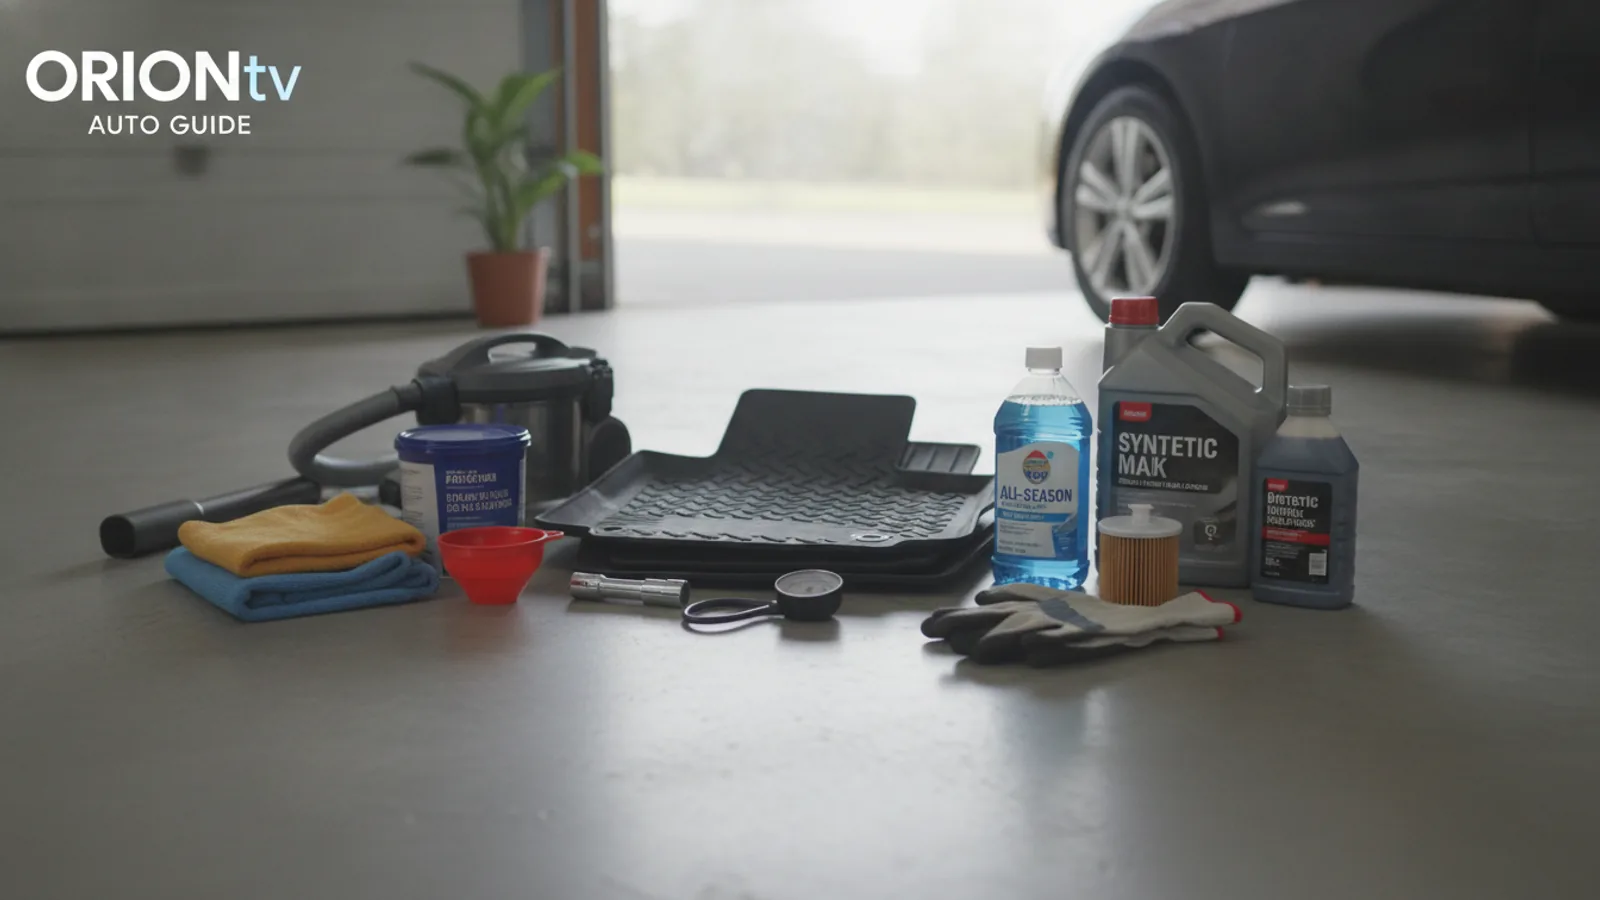
- Keep a tire pressure gauge handy to check if the tire pressure warning light is due to low inflation, which is a common and easy fix.
- Ensure you have a safe place to park and a few minutes to investigate, as some checks require the engine to be off and cool, and you should never work under a car unless it's securely supported.
Step-by-Step Instructions
Identify the warning light and its color
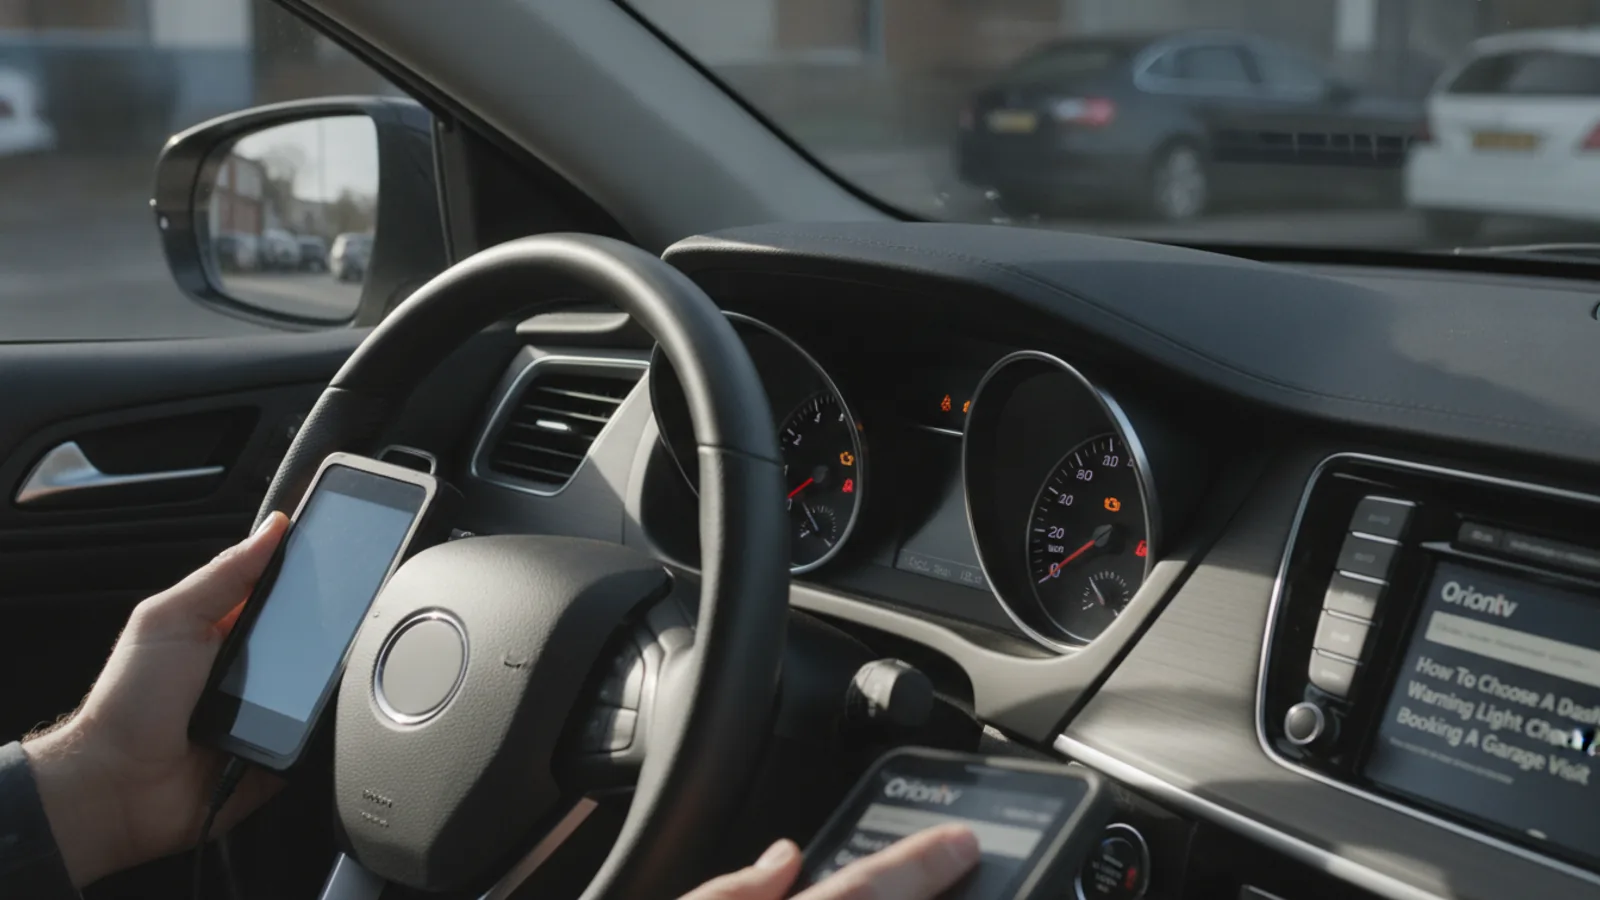
Your first move is to identify which warning light is illuminated and note its color. Dashboard warning lights typically come in three colors: red, amber or yellow, and green or blue. Red lights indicate a serious problem that requires immediate attention, such as low oil pressure, an overheating engine, or a brake system failure. Amber or yellow lights signal a caution – you can continue driving, but you should address the issue soon, like a check engine light or low tire pressure. Green or blue lights are informational, such as headlights or cruise control engaged. Locate your owner's manual to find the exact symbol and its meaning for your specific vehicle. If the manual is unavailable, you can search online for a chart of dashboard warning symbols, but ensure you use a reliable source. This identification step matters because it determines the urgency and the next course of action – whether you should stop immediately or can plan a visit to a garage.
Check the simplest causes first
Before you assume the worst, check a few common and simple causes that can trigger a warning light without indicating a major failure. For instance, the check engine light often comes on when the fuel fill cap is loose or missing. Park safely, turn off the engine, and remove the fuel cap, then reinstall it by turning it until you hear three clicks or see that it's snug. Wait a moment and start the car – the light may go off after a few drive cycles. Another simple check is the tire pressure monitoring system (TPMS) light. Use a tire pressure gauge to check the pressure in all four tires, including the spare if your vehicle has one, and inflate them to the recommended pressure listed on the driver's door jamb or in the owner's manual. If you don't have a gauge, you can use the air pump at a gas station, but be aware that you may need to reset the TPMS after inflating. These checks are worth doing because they are quick, inexpensive, and a common source of warning lights.
Check fluid levels and inspect under the hood
Many dashboard warning lights correspond to low fluid levels, especially engine oil, coolant, and brake fluid. With the engine off and cool, open the hood and locate the dipstick for the engine oil. Pull it out, wipe it clean, reinsert it fully, then pull it out again to see the oil level. If it's below the minimum mark, add the recommended oil type from your owner's manual, but be careful not to overfill. Next, check the coolant reservoir – it should be between the min and max signs. If it's low, you may have a leak or overheating issue, so top it up with a 50/50 mix of coolant and water as specified in your manual. Also inspect the brake fluid reservoir; if it's below the minimum, that could trigger the brake warning light and indicates a serious problem – you should have the system checked by a professional. While you're under the hood, look for any obvious leaks or loose belts. These checks matter because low fluids can lead to engine damage, overheating, or brake failure, so addressing them early can prevent costly repairs.
Use an OBD-II scanner to read fault codes
If the check engine light is on and simple checks haven't resolved it, use an OBD-II scanner to read the diagnostic trouble codes (DTCs). Many auto parts stores let you borrow a scanner for free, or you can buy a basic one that connects to your smartphone. Plug the scanner into the diagnostic port, usually located under the dashboard near the steering column. Turn the ignition to the 'on' position without starting the engine, and follow the scanner's instructions to read the codes. You'll get a five-character code like P0301, which indicates a cylinder misfire. Look up the code's meaning online or in the scanner's manual. This step is important because the code gives you a specific direction – it tells you what system is affected and often what part might be failing. However, codes are not a direct diagnosis; they tell you where to look, not what to replace. Use the code to narrow down the problem and decide if it's something you can fix yourself or if you need a mechanic. For example, a loose fuel cap can cause a code for an evaporative system leak, which you might resolve by tightening the cap and clearing the code.
Assess whether it's safe to drive to the garage
After you've identified the light and read any codes, decide if it's safe to drive to the garage. Consider the color of the light and the symptoms. If the light is red or flashing, such as the oil pressure or engine temperature light, do not drive – you risk severe damage. Instead, have the vehicle towed. If the light is amber, like the check engine light, and the car runs normally without unusual noises or loss of power, you can likely drive a short distance to the garage, but avoid heavy acceleration or long trips. If you have a TPMS light and the tires are properly inflated, you can also drive, but keep the speed moderate. Also, check if any warning message appears on the instrument cluster, like 'check engine' or 'get service' – some vehicles give text messages that add info. Always trust your instincts: if you feel unsafe or the car behaves oddly, don't take risks. This assessment is crucial because it prevents further damage to the vehicle and ensures your safety on the road.
Gather all information and book the garage visit
Once you've done the basic checks and read codes, gather all the information you've collected to share with the garage when booking the appointment. Write down the exact warning light symbol and color, the OBD-II codes if you have them, any symptoms you noticed (like unusual sounds or smells), and the outcome of your DIY checks (for example, whether you topped up a fluid). Call the garage and explain what you've found, mentioning that you've already checked the fuel cap and fluids, so they know what you've done. Ask if they have time to do a quick diagnostic and if they can give you an estimate. Providing this info helps them prepare and might reduce the diagnostic time, as they'll have a starting point. It also shows the mechanic that you've been proactive, which can lead to a more efficient visit. This step matters because clear communication ensures you and the mechanic are on the same page, reducing the chance of unnecessary repairs or misunderstandings.
Quick Reference
| Situation | Action | Why it helps |
|---|---|---|
| Check engine light is yellow and steady: it may be the fuel cap or a minor emission issue. | Tighten the fuel cap until it clicks three times; if the light persists after a few drives, borrow an OBD-II scanner to read the code at an auto parts store. | A loose fuel cap is a common trigger for a check engine light, and reading the code tells you if the issue is simple like that or something more involved. |
| Tire pressure monitoring system (TPMS) light is on, possibly accompanied by low pressure warning in the display. | Use a tire pressure gauge to check all tires including the spare if equipped; inflate to the pressure listed on the driver's door jamb or owner's manual, then reset the TPMS if needed per the manual. | Low tire pressure can cause unsafe driving conditions and reduced fuel economy, and inflating to the correct pressure often turns off the light without a garage visit. |
| Brake warning light comes on with a red exclamation mark or the word 'BRAKE'. | Do not drive; check the brake fluid level when the car is cool. If it's low, top it up to the max line, but if it's full or you see a leak, call for a tow and book a garage visit immediately. | Brake problems are critical safety issues; driving with low brake fluid or a warning light can lead to brake failure, so it's responsible to have a professional inspect it. |
Common Issues
- Check engine light stays on after tightening the fuel cap.: The light may require several drive cycles to clear. If it doesn't turn off after about a week or 50 miles of driving, read the fault code with an OBD-II scanner to identify the underlying issue and address it or take it to a garage.
- TPMS light flashes for a minute or stays solid after inflating tires.: Your vehicle may require a TPMS reset procedure. Consult the owner's manual to find the reset button or sequence, which often involves holding a button under the dash or using the infotainment system. If you can't do it, a garage or tire shop can usually reset it for a small fee.
- Oil pressure warning light flickers intermittently, especially when idling.: This can indicate low oil level or a failing oil pump. Check the oil level when the engine is cold and top up if needed. If the light persists, do not drive the car, as it could lead to engine failure; have it towed to a professional.
Advanced Tips
- Keep a log of when each warning light appears, including the outside temperature and driving conditions, as this can help diagnose intermittent issues that are hard to reproduce.
- If you have a modern vehicle, use the dashboard's menu to check if there are any stored messages or further details about the warning light, such as 'Check engine' or 'Low coolant'.
- Consider investing in a quality OBD-II scanner that not only reads codes but also shows live data like engine temperature and oxygen sensor readings, which gives you more insight into the health of your car.
Final Checklist
- Have you identified the warning light and checked its color and meaning in the owner's manual?
- Have you performed all safe DIY checks, including fuel cap, tire pressure, and fluid levels?
- If applicable, have you read and noted the OBD-II fault codes with a scanner?
- Have you confirmed the car is safe to drive to the garage, or will you need a tow?
FAQ
Can I still drive my car with a warning light on?
It depends on the light's color and behavior. Red or flashing lights indicate a serious problem like low oil pressure or overheating, so you should stop driving immediately and have the vehicle towed. Yellow or amber lights are generally less urgent, but you should still address the issue soon. If the check engine light is steady and the car runs normally, you can drive a short distance to a garage, but avoid long trips. Always consult your owner's manual for specific guidance.
What does it mean when the check engine light is flashing?
A flashing check engine light typically signals a severe misfire that can damage the catalytic converter or other engine components. You should reduce your speed, avoid heavy acceleration, and pull over as soon as it's safe. Stop the engine and have the car towed to a mechanic. Continuing to drive can cause costly damage.
How often should I check my tire pressure?
It's recommended to check tire pressure at least once a month and before long trips, as tires can lose pressure over time. The TPMS light will come on if pressure drops significantly below the recommended level, but it does not detect gradual under-inflation that may still be unsafe. Use a reliable gauge and check all tires when they are cold for an accurate reading.