How To Choose A Simple Seasonal Maintenance Routine For A Daily Driver
A practical step-by-step guide to how to choose a simple seasonal maintenance routine for a daily driver, including preparation, instructions, common issues, tips, and next steps.
How To Choose A Simple Seasonal Maintenance Routine For A Daily Driver
A simple seasonal maintenance routine for a daily driver keeps your vehicle safe, reliable, and efficient without turning car care into a second job. By focusing on a few key areas each quarter—such as tire pressure, fluid levels, battery health, and wipers—you can catch small issues before they become expensive problems. This guide breaks down a manageable checklist you can follow in about an hour per season, using only basic tools you likely already own. You will learn what to inspect, how to interpret what you see, and when to consult a professional. The routine is flexible enough for any climate, and it emphasizes regular checks over complex repairs, so even a beginner can stay on top of maintenance throughout the year.
Fast Answer
- Create a four-season checklist: spring (coolant and AC), summer (tires and fluids), fall (lights and heater), winter (battery and wipers). Stick to the same order each time so you never miss a step.
- Set a recurring reminder on your calendar for the first weekend of each new season. Spend 30–60 minutes checking the items in the quick-reference table, and address anything worn before the weather turns harsh.
Before You Start
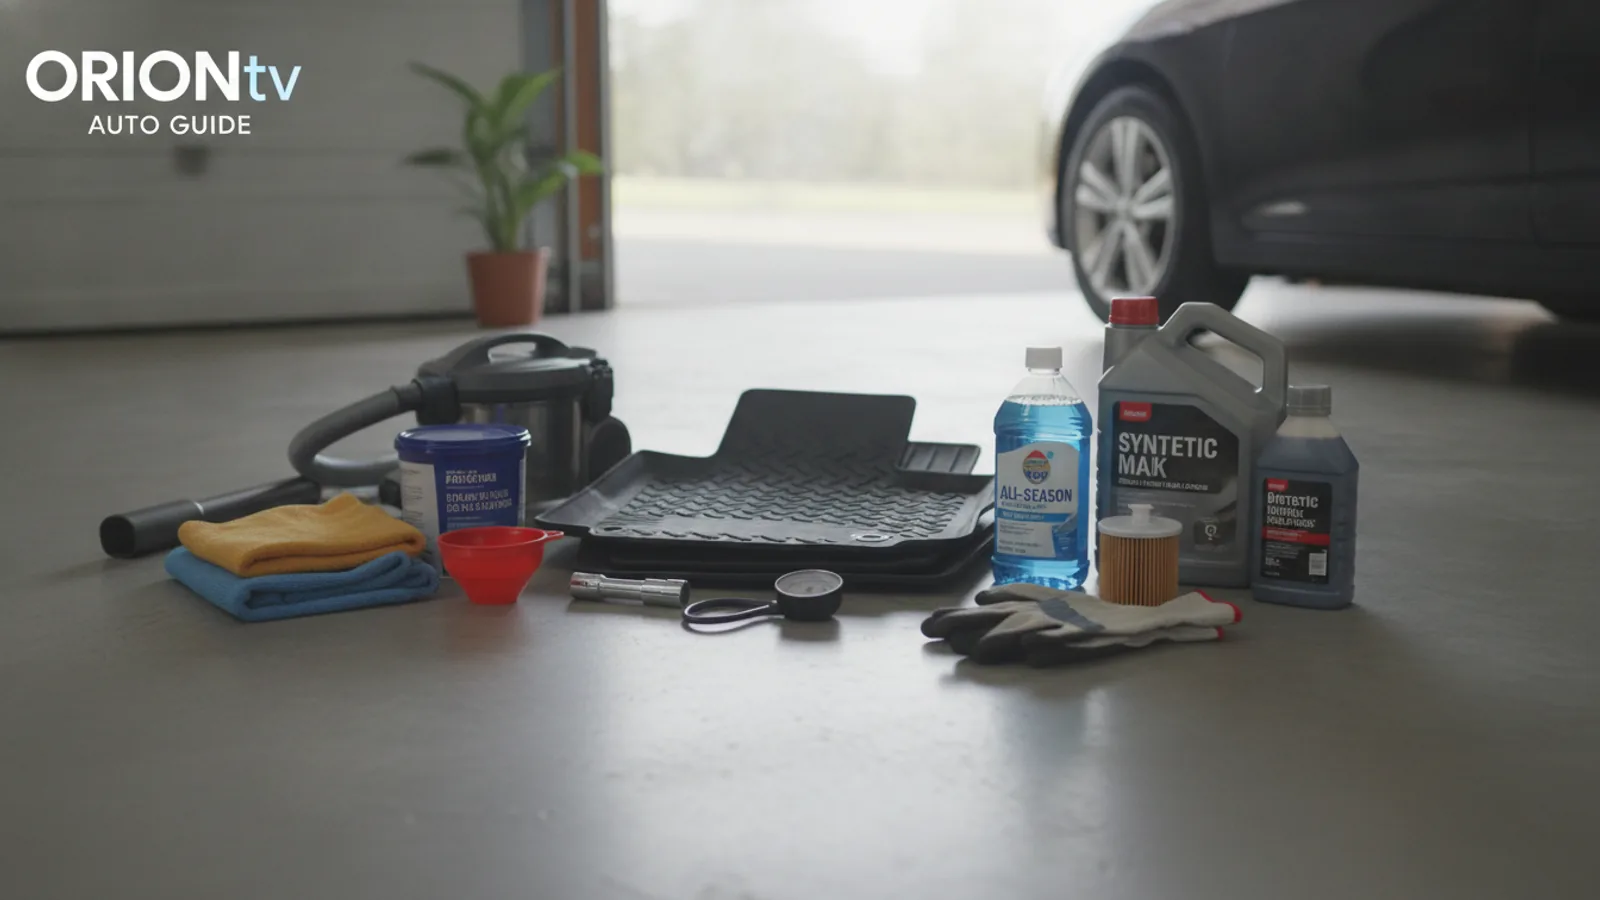
- Gather a tire pressure gauge, a flashlight, a clean rag, and a basic socket or wrench set to remove the oil fill cap if needed.
- Locate your owner’s manual or find the manufacturer’s recommended service schedule online; note the suggested intervals for oil changes, filter replacements, and other fluid services.
- Check your vehicle’s tire pressure label, usually on the driver’s side door jamb or inside the fuel filler flap, and note the recommended pressure for front and rear tires.
- Ensure you have a safe, level place to park, and if you plan to crawl under the car, use wheel chocks and a sturdy jack stand if you need to lift it.
Step-by-Step Instructions
Assess Tires and Inflation Pressure
Start with the tire pressure because it affects safety and fuel economy the most. Use a digital or stick-style gauge on cold tires—meaning the car has sat for at least three hours. Compare the reading to the manufacturer’s number on the door pillar label, not the number molded on the tire sidewall. Add air if low, and let some out if overinflated. While you are down there, run your hand over the tread to feel for uneven wear or a nail. Insert a penny into the tread groove with Lincoln’s head upside down; if you can see the top of his head, the tread is too worn. Check that the valve stem caps are tight. Properly inflated tires wear evenly and grip better, and you will avoid a blowout on the highway. If the tire loses more than two pounds per week, have a shop inspect the tire for a slow puncture.
Inspect and Top Off Fluid Levels
Pop the hood and check the engine oil dipstick, transmission fluid (if your car has a dipstick), brake fluid, windshield washer fluid, power steering fluid, and coolant. Look for each reservoir’s minimum and maximum marks and top off with the recommended type if low. Never mix coolant types unless the label says it is universal, and use the exact fluid specified in the owner’s manual. While you are there, glance at the fluid colors: engine oil should be amber or black; coolant is green, orange, or pink; brake fluid is clear to light amber. If any fluid looks milky, has a burnt smell, or contains debris, that signals a leak or internal problem. Use a clean rag to wipe the dipstick, and check the engine oil when the car is on level ground. This simple check prevents overheating, seized brakes, and transmission damage, all of which can leave you stranded.
Test Battery Health and Clean Terminals
Modern car batteries generally last three to five years, but extreme heat or cold shortens that. Examine the battery case for bulges or cracks, and look at the terminals for white or bluish corrosion. Use a wire brush to scrub any crust off the terminals, and apply a thin layer of petroleum jelly or dielectric grease to prevent future buildup. Make sure the battery hold-down bracket is secure so the battery does not vibrate and damage internal plates. If your vehicle has a maintenance-free battery with no removable caps, do not try to open it. With the engine off, turn on the headlights for a minute, then start the car; if the headlights dim significantly while cranking, the battery or starting system is weak. You can also use a multimeter check at the battery with the engine running—alternator output should be about 13.8 to 14.4 volts. Cleaning corrosion prevents poor electrical connections and ensures the car starts in cold weather.
Evaluate Wiper Blades and Windshield Fluids
Test the windshield wipers by spraying fluid and running them through a few sweeps. Look for streaks, squeaks, or skipped spots—these indicate the rubber edge is cracked or worn. Lift each wiper arm away from the glass and run your fingertip along the blade; if the rubber feels hard, brittle, or has any nicks, replace the blade. Most blades have a small tab to release the old one, but some require a small screwdriver to pry off a cap. Before buying new blades, measure the length or check your owner’s manual for the correct size. Fill the washer fluid reservoir with a premixed solution that cleans bugs and road grime. In cold months, use a winter formula that lowers the freezing point. Good wipers keep your vision clear during rain and snow, and fresh fluid prevents sand and dirt from scratching the glass.
Examine Lights, Belts, and Hoses
Turn on the headlights, parking lights, brake lights, and turn signals while a friend stands outside or you watch the reflection in a window. Replace any bulb that is out, and note that many newer cars have LED lights that require a shop visit. With the engine off, feel the drive belt(s) for cracks, glazing, or worn edges; the belt should not have more than about half an inch of give when you push on it between pulleys. Squeeze the large radiator hoses—they should be firm, not squishy or hard—and check for leaks at the clamps where they attach to the engine. Look under the car for any puddles or drips, and note the color: green or orange is coolant, dark brown might be oil, red is often transmission fluid, and clear water is likely condensation from the air conditioning. Catching a cracked hose or a frayed belt early prevents overheating or a belt snapping while driving.
Review Filters and Cabin Air Quality
Replace the engine air filter if it is dusty or clogged, typically every 12,000 to 15,000 miles, but check it each season if you drive on gravel roads. The filter is usually in a black plastic box under the hood and can be removed without tools. Hold it up to a light—if you cannot see light through the pleats, it is time for a new one. The cabin air filter is behind the glovebox or under the dashboard, and it cleans the air entering the passenger compartment. A dirty cabin filter can make the heater or air conditioner blow weak air or smell musty. Replace it according to the owner’s manual, usually every 15,000 miles, but more often if you notice a musty odor when the fan runs. Clean filters improve fuel economy, protect the engine from dirt, and keep you and your passengers breathing easy, especially during allergy season.
Quick Reference
| Situation | Action | Why it helps |
|---|---|---|
| Tire pressure warning light comes on during a cold snap. | Pull over safely and check all four tires with a gauge when they are cool; add air to the recommended level on the door jamb label, then reset the TPMS if your car has a button. | Cold air contracts and reduces pressure, so a light usually means underinflation, which wears tires out faster and hurts fuel economy. |
| Engine overheats on a hot summer day in stop-and-go traffic. | Turn off the air conditioner and turn the heater on full blast; pull over as soon as it is safe, let the engine cool, then check the coolant reservoir and add coolant if low. | The heater core works as a backup radiator, and the coolant level is critical for the engine to shed heat; low fluid is a common cause of overheating. |
| Windshield fogs up badly and won't clear in damp autumn mornings. | Use your defroster on max heat with the air-conditioning compressor on (press the A/C button even in winter) and fresh-air intake, and clean the inside of the glass with a microfiber cloth and a mild window cleaner. | The A/C dries the air, and fresh air prevents moisture from inside the car from recirculating, so the glass clears faster and stays clear. |
Common Issues
- Battery dies after leaving the car parked for a week in cold weather.: A simple battery maintainer (trickle charger) plugs into a wall outlet and connects to the battery, keeping it gently topped up without overcharging. Attach it whenever you park for more than a few days, and disconnect it before starting the car.
- You notice a puddle of green fluid under the engine after a freezing night.: Coolant expands when it freezes, so a leak often occurs at the radiator seams or hose clamps. Once the engine is cold, tighten the clamps gently, then pressure test the system at a shop to find the exact crack or cause.
- Wiper blades smear the water instead of clearing it.: Clean the rubber blade with a soft cloth dipped in windshield washer fluid to remove road grime and old rubber residue. If the smearing persists, replace the blades—most aftermarket versions slide on in a minute without tools.
Advanced Tips
- Keep a small logbook in your glovebox to record the date, mileage, and any unusual noises or leak colors; patterns over two seasons help you spot developing problems before they strand you.
- Learn how to read your vehicle's diagnostic trouble codes using a basic OBD-II scanner—clearing a code is not a fix, but knowing the code number helps you explain the issue to a mechanic and avoid unnecessary repairs.
- When you store a car for a season, pour a fuel stabilizer into a full tank, inflate the tires to the max pressure listed on the sidewall, and disconnect the battery to reduce parasitic drain.
Final Checklist
- Verified tire pressures are at the factory-specified level and tread depth is above 2/32 inch.
- Checked and topped off all fluid reservoirs, noting any unusual colors or odors.
- Cleaned battery terminals, confirmed a secure hold-down, and tested starting performance.
- Tested wipers, lights, belts, and hoses for wear or leaks, and replaced any worn parts.
FAQ
How often should I actually perform a seasonal check?
At the change of each season, ideally on the first weekend of spring, summer, fall, and winter. That gives you roughly four checks a year, which is enough to catch normal wear before it becomes a breakdown, without spending every weekend on chores. If you live in a region with mild weather, you can stretch to twice a year, but inspecting tires, fluids, and battery before summer heat and winter cold is never wasted effort.
Can I do this routine if I don't have any mechanical skills?
Absolutely. Every step uses simple checks—reading a dipstick, using a pressure gauge, and looking for wear—that require no mechanical experience. If you find something odd, like a cracked belt or a low fluid that does not stay topped up, that is your signal to take the car to a professional. The goal is not to fix everything yourself, but to know when something needs attention.
What should I do if I spot a leak but the car seems to run fine?
Do not ignore it. A small leak can quickly become a big one, especially in coolant or brake fluid. First, identify the color and location using the cardboard trick from step 5. If it is a clear liquid, it might just be air-conditioner condensation, which is normal. For any colored fluid, check the level daily and have a shop inspect it within a week. Driving low on fluid can damage the engine, transmission, or brakes.