How To Plan A Car Battery Check Before A Long Trip
A practical step-by-step guide to how to plan a car-battery check before a long trip, including preparation, instructions, common issues, tips, and next steps.
How To Plan A Car Battery Check Before A Long Trip
Planning a car-battery check before a long trip is essential to avoid unexpected breakdowns and ensure your vehicle starts reliably. This guide walks you through assessing battery health, cleaning terminals, testing voltage, and preparing for extreme conditions. By following these steps, you can identify potential issues early, pack necessary tools, and drive with confidence. Regular battery maintenance extends its lifespan and prevents inconvenient failures, especially during long journeys where help may be far away. You will learn how to inspect for corrosion, use a multimeter correctly, and decide when to replace your battery. The guide also covers common problems like parasitic drain and faulty alternators, with practical fixes. Advanced tips include load testing and insulation techniques. A final checklist and FAQ address frequent concerns, ensuring you cover all aspects of battery care before departure.
Fast Answer
- Check the battery terminals for corrosion and clean them with a wire brush if needed.
- Use a multimeter to measure the resting voltage; it should be around 12.6 volts or higher.
Before You Start
- Park the car on a level surface, turn off the engine, and engage the parking brake.
- Gather a pair of safety gloves and safety glasses to protect your hands and eyes.
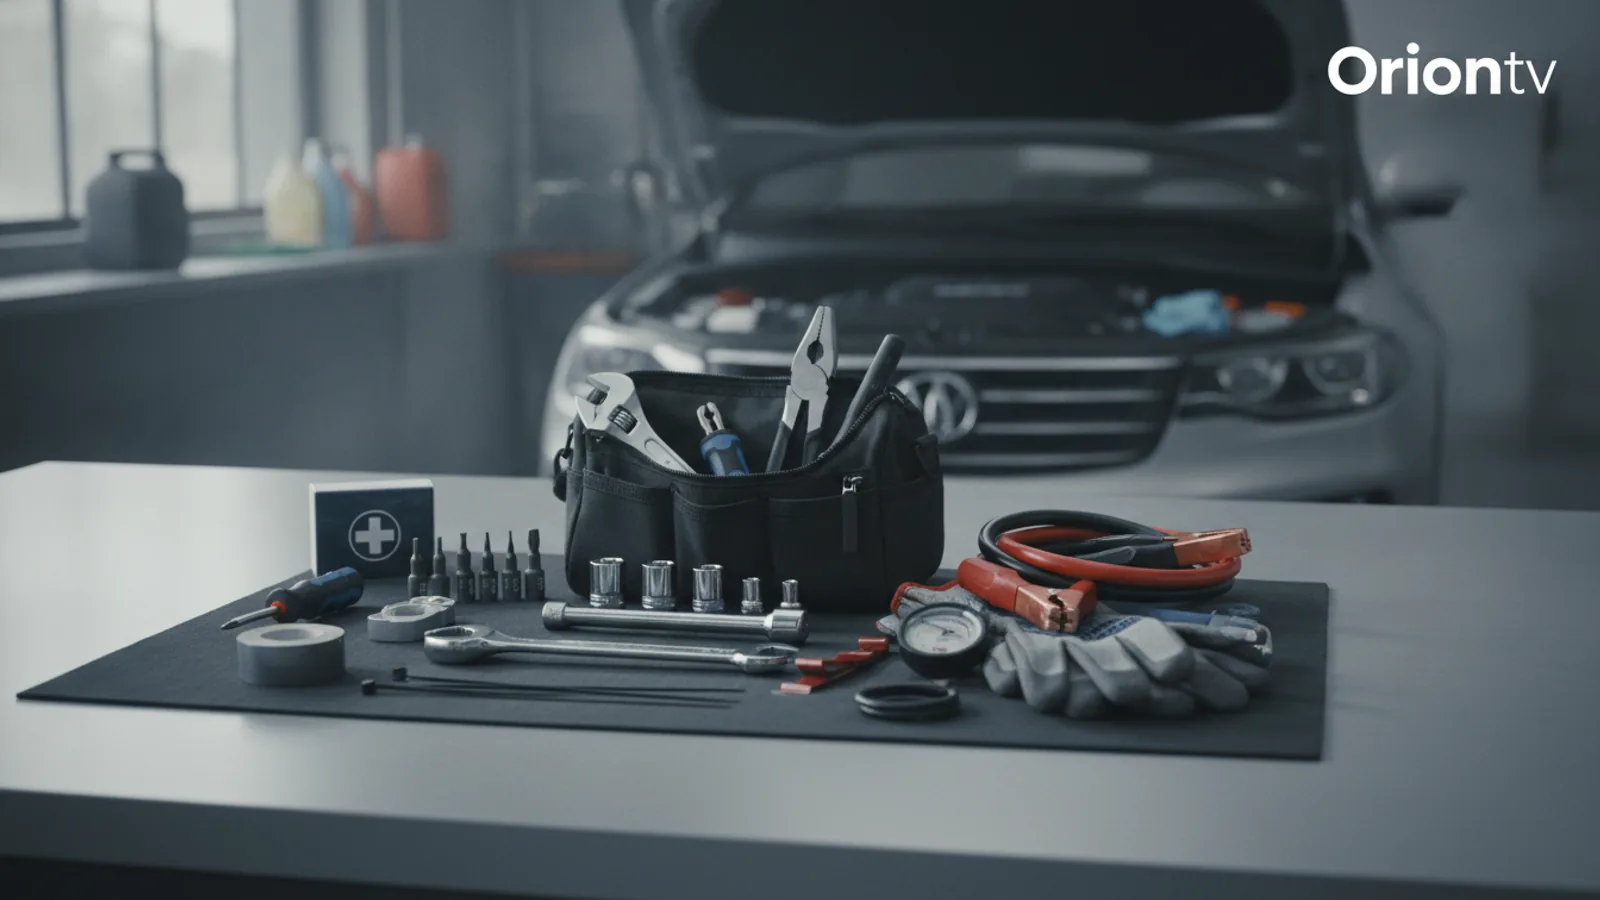
- Have a wire brush, baking soda, water, and a clean rag ready for cleaning terminals.
- Keep a digital multimeter available to check the battery voltage accurately.
Step-by-Step Instructions
Inspect the battery case and terminals
Start by opening the hood and locating the battery. Visually inspect the case for any cracks, bulges, or leaks, which can signal internal damage. Look at the terminals and cable clamps for white or bluish corrosion, which looks like a powdery substance. Corrosion can interfere with the electrical connection, making it harder for the battery to deliver power. Gently wiggle the cables to see if they are loose; if they move easily, they need tightening. Also, check that the battery hold-down bracket is secure to prevent vibration damage. While inspecting, note the battery's age if there is a date sticker. Most batteries last three to five years, so if yours is older, plan for testing or replacement. Take a photo if you are unsure, but remember to avoid touching any corrosive materials with bare hands.
Clean the battery terminals and cables
Before cleaning, put on safety gloves and glasses. Disconnect the negative cable first (the one marked with a minus sign), then the positive cable. Use a wire brush or a terminal cleaner tool to scrub the inside of the clamps and the battery posts. Make a paste of baking soda and water to neutralize acid corrosion, but avoid getting it into the battery cells. Dip a clean rag in the paste and wipe the terminals, then rinse with a small amount of water on a rag. Dry everything thoroughly with a clean cloth. Reconnect the positive cable first, then the negative, and tighten them securely. Ensure they are snug but do not over-tighten, which can damage the posts. After cleaning, apply a thin layer of petroleum jelly or terminal protector spray to reduce future corrosion. This step improves the flow of electricity, preventing voltage drops that can cause starting problems.
Test the battery voltage with a multimeter
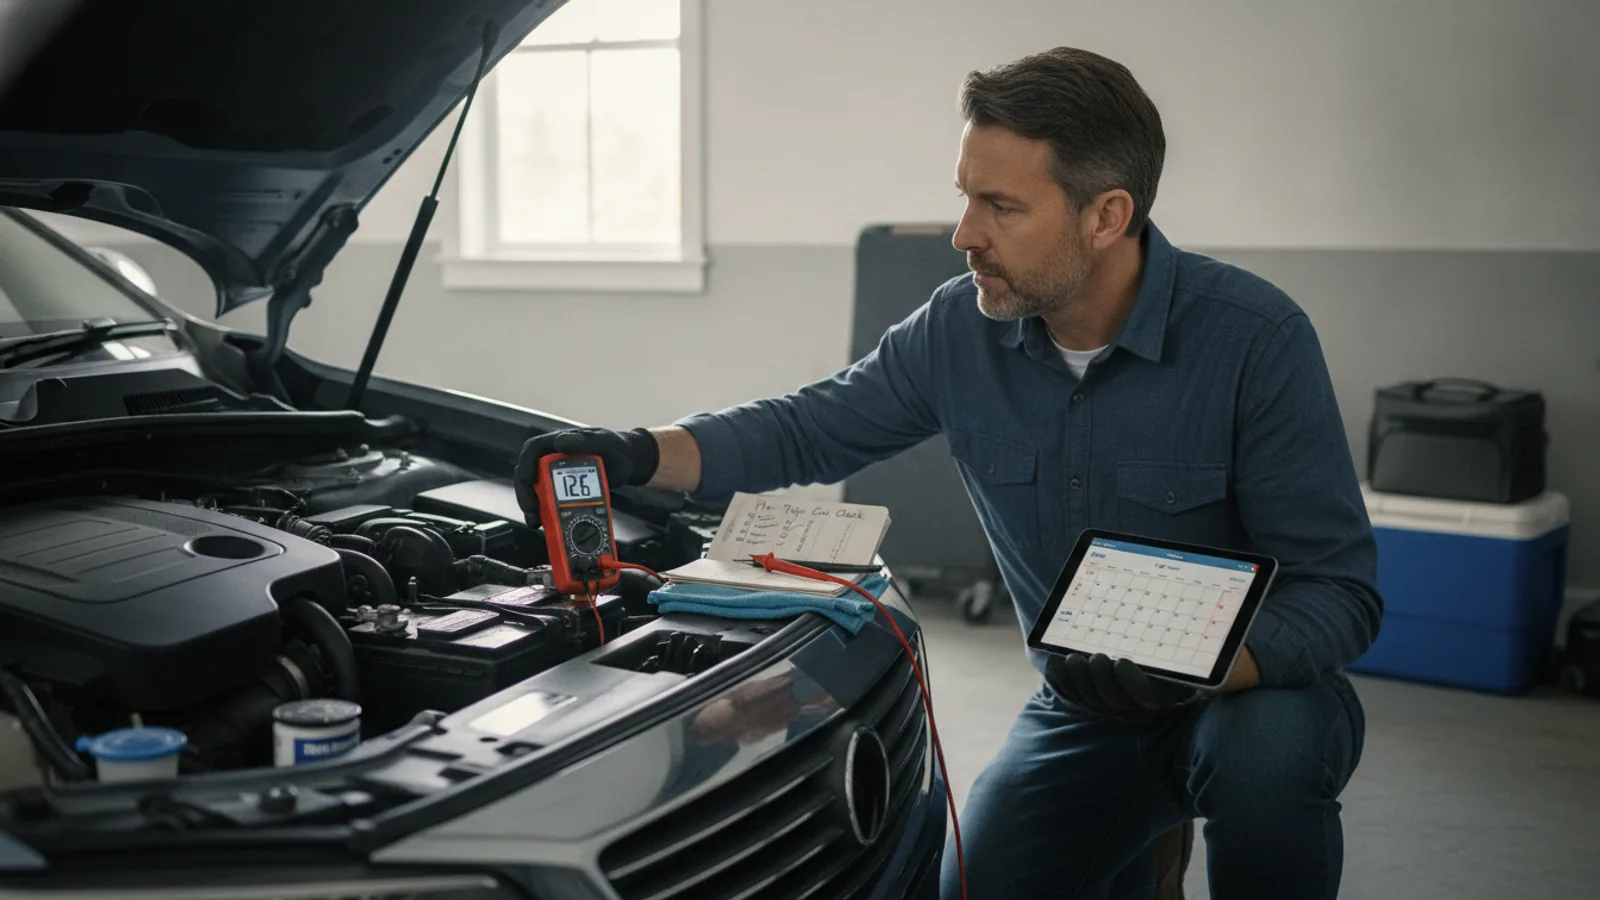
Set your digital multimeter to DC voltage at the 20-volt range. Touch the red probe to the positive terminal and the black probe to the negative terminal. Read the voltage. A fully charged battery should show around 12.6 volts or higher. If you see less than 12.4 volts, the battery is partially discharged and may need charging. Below 12.2 volts indicates a weak battery that could struggle to start the car, especially in cold weather. For a more accurate test, do this after the car has been off for at least an hour to let the surface charge dissipate. If the voltage is low, you can try charging it with a battery charger, but if it does not hold a charge, it may need replacement. Also, perform a load test if you have a battery tester, which will be covered later.
Test the charging system while running
Start the engine and let it idle. With the multimeter still on DC volts, place the probes on the battery terminals again. The reading should now be between 13.7 and 14.7 volts, indicating that the alternator is charging the battery properly. If the reading stays below 13.5 volts, the alternator might be undercharging, which will drain the battery during the trip. If it is above 14.8 volts, it could be overcharging and damaging the battery. Also, turn on the headlights, air conditioning, and other electrical loads to simulate driving conditions. The voltage should remain within that range. If the voltage fluctuates wildly or drops when you rev the engine, there may be a wiring issue or a failing alternator. This test ensures your battery will not be left stranded by a faulty charging system.
Inspect and maintain battery electrolyte levels
If your battery has removable cell caps (non-maintenance-free type), check the electrolyte level inside each cell. The level should cover the plates, usually indicated by a fill line. Use a flashlight to see clearly. If low, add distilled water only, not tap water, as minerals can reduce battery life. Do not overfill, as the solution may expand when charging and overflow. For sealed batteries, there is no need to check, but you can look for a built-in hydrometer or indicator that shows state of charge. Also, examine the battery's ventilation system to ensure there are no obstructions. Proper electrolyte levels are essential for the chemical reactions that store and release energy. If the plates are exposed, they can sulfate and permanently damage the battery. Regular top-ups help maintain performance, especially before a long trip.
Secure the battery and plan for emergencies
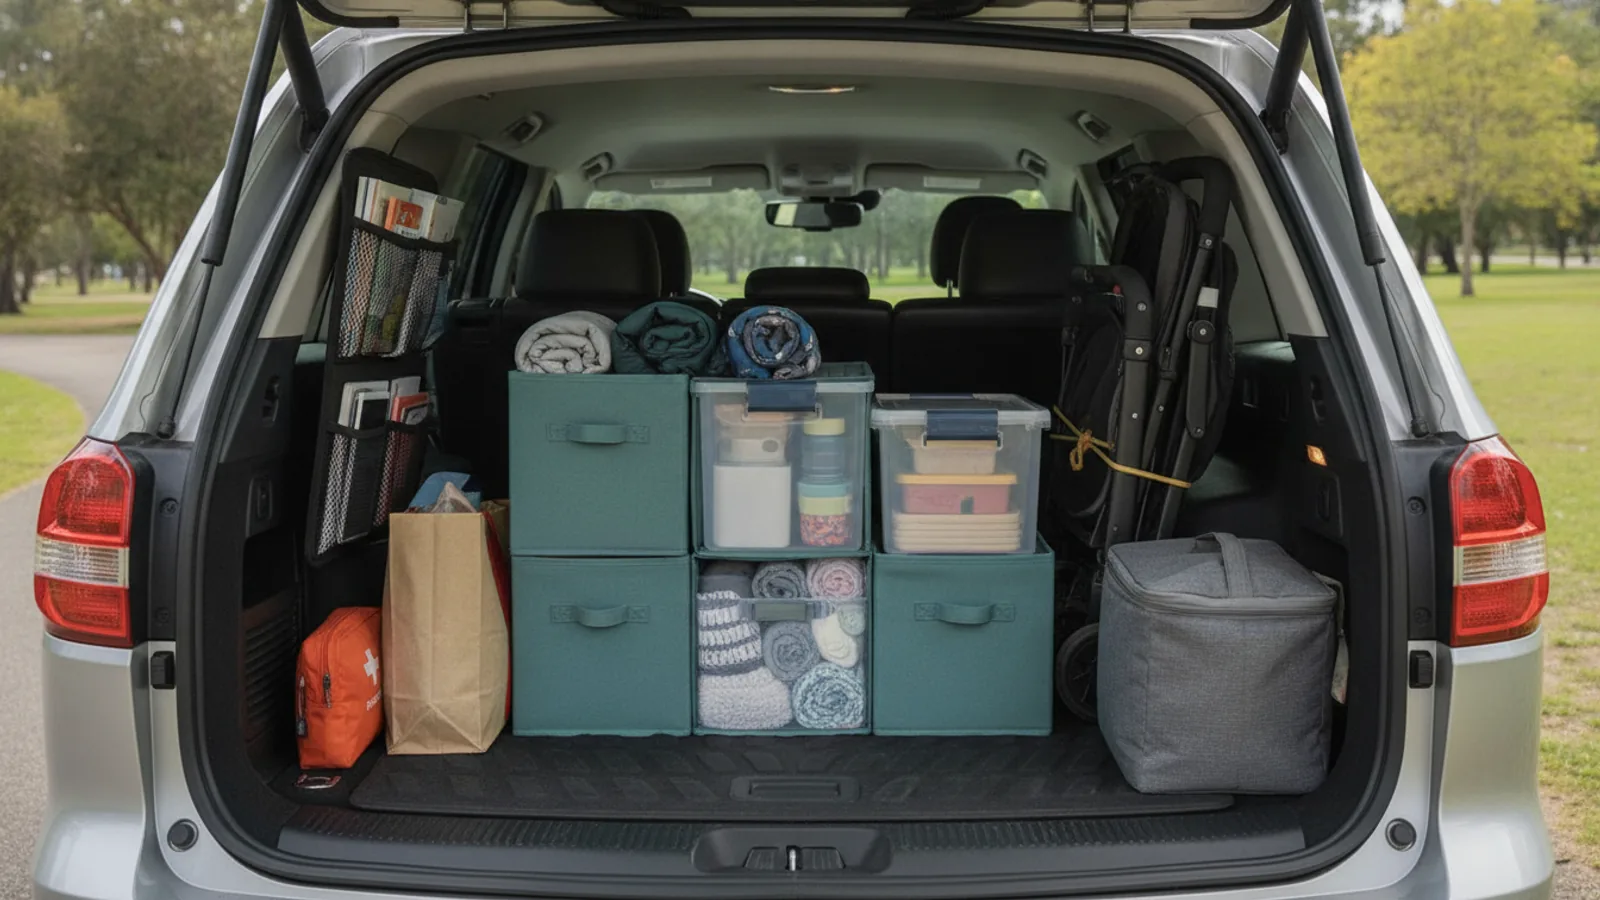
Ensure the battery is firmly secured in its tray with the hold-down clamp. A loose battery can vibrate excessively while driving, causing internal damage and short circuits. Tighten the clamp with a wrench, but avoid over-tightening that might crack the case. Also, double-check that all cables are routed away from moving parts. After replacing the battery or cleaning, start the car and let it run for a few minutes to confirm it starts reliably. As part of your preparation, pack a portable jump starter and a basic tool kit with wrenches, a wire brush, and extra distilled water. Know the location of your car's battery and how to access it if you need to jump-start. Plan your route with service stations or auto shops in mind, especially for rural stretches. This final step ensures your battery is physically ready and you are prepared for unexpected issues.
Quick Reference
| Situation | Action | Why it helps |
|---|---|---|
| Voltage reading below 12.4 volts when the engine is off. | Charge the battery fully with a battery charger, then retest after resting for an hour. | A low resting voltage means the battery is discharged, which could leave you unable to start the car. |
| Engine running, voltage is under 13.5 volts or over 14.8 volts. | Inspect alternator belt tension and check wiring connections; if issue persists, consult a mechanic. | Incorrect charging voltage can damage the battery or leave it undercharged, leading to failure. |
| Corrosion buildup on battery terminals appears while on the road. | Clean the terminals with a wire brush and baking soda solution, then retighten the cables. | Corrosion adds resistance, reducing current flow and making it harder for the engine to start. |
Common Issues
- Battery dies after sitting for a few days without use.: Check for parasitic drain by testing for current draw with the car off; use an ammeter and pull fuses to isolate the circuit.
- Battery is bloated or has a swollen case.: Replace the battery immediately, as swelling indicates overcharging or extreme heat damage, which can lead to leaks.
- Car starts slowly or clicks when turning the key.: Clean the terminals and test the battery voltage under load; if it drops drastically, charge or replace the battery.
Advanced Tips
- Use a battery load tester to check the battery's ability to hold voltage under simulated start conditions, which gives a more accurate health assessment than resting voltage.
- Consider installing a battery insulation blanket or heater in extremely cold climates to maintain performance and reduce voltage drops.
- If your car will sit for over a week, use a battery maintainer or trickle charger to keep the battery fully charged and prevent sulfation.
Final Checklist
- Battery terminal connections are clean, tight, and free of corrosion.
- Resting voltage reads 12.6 volts or higher after an hour idle.
- Charging system voltage stays between 13.7 and 14.7 volts with loads.
- Battery is securely mounted and electrolyte levels are correct if accessible.
FAQ
How often should I check my car battery before a long trip?
It is wise to perform a basic battery check at least once a month and always within a week before a long trip. This includes visual inspection, cleaning, and voltage testing. If your battery is more than three years old, check more frequently. Regular checks help you spot problems early, saving you from being stranded.
Can I jump-start a car with a weak battery for a long trip?
Jump-starting is only a temporary fix. It does not recharge the battery fully and may not be enough for a long journey, especially if the alternator is also weak. It is safer to fully charge the battery with a proper charger or replace it if it is failing. Always test the battery and charging system before departure.
What should I do if my battery is leaking acid?
If you notice acid leaks, avoid touching the liquid and wear gloves. Carefully clean the area with baking soda and water, then have the battery inspected or replaced immediately. A leaking battery is dangerous and can cause corrosion and electrical shorts. Do not attempt long drives with a leaking battery.