How To Plan A Compact Toolkit For First Time Car Owners
A practical step-by-step guide to how to plan a compact toolkit for first-time car owners, including preparation, instructions, common issues, tips, and next steps.
How To Plan A Compact Toolkit For First Time Car Owners
Owning your first car is exciting, but carrying too much stuff can weigh you down. A compact toolkit keeps you prepared for common roadside issues without cluttering your trunk or adding much weight. This guide helps you choose only the most useful items, avoid duplicates, and organize them so you can find what you need quickly. You will learn what to pack, how to store it, and how to use each item safely. By following these steps, you will save space, money, and stress during unexpected breakdowns or minor repairs.
Fast Answer
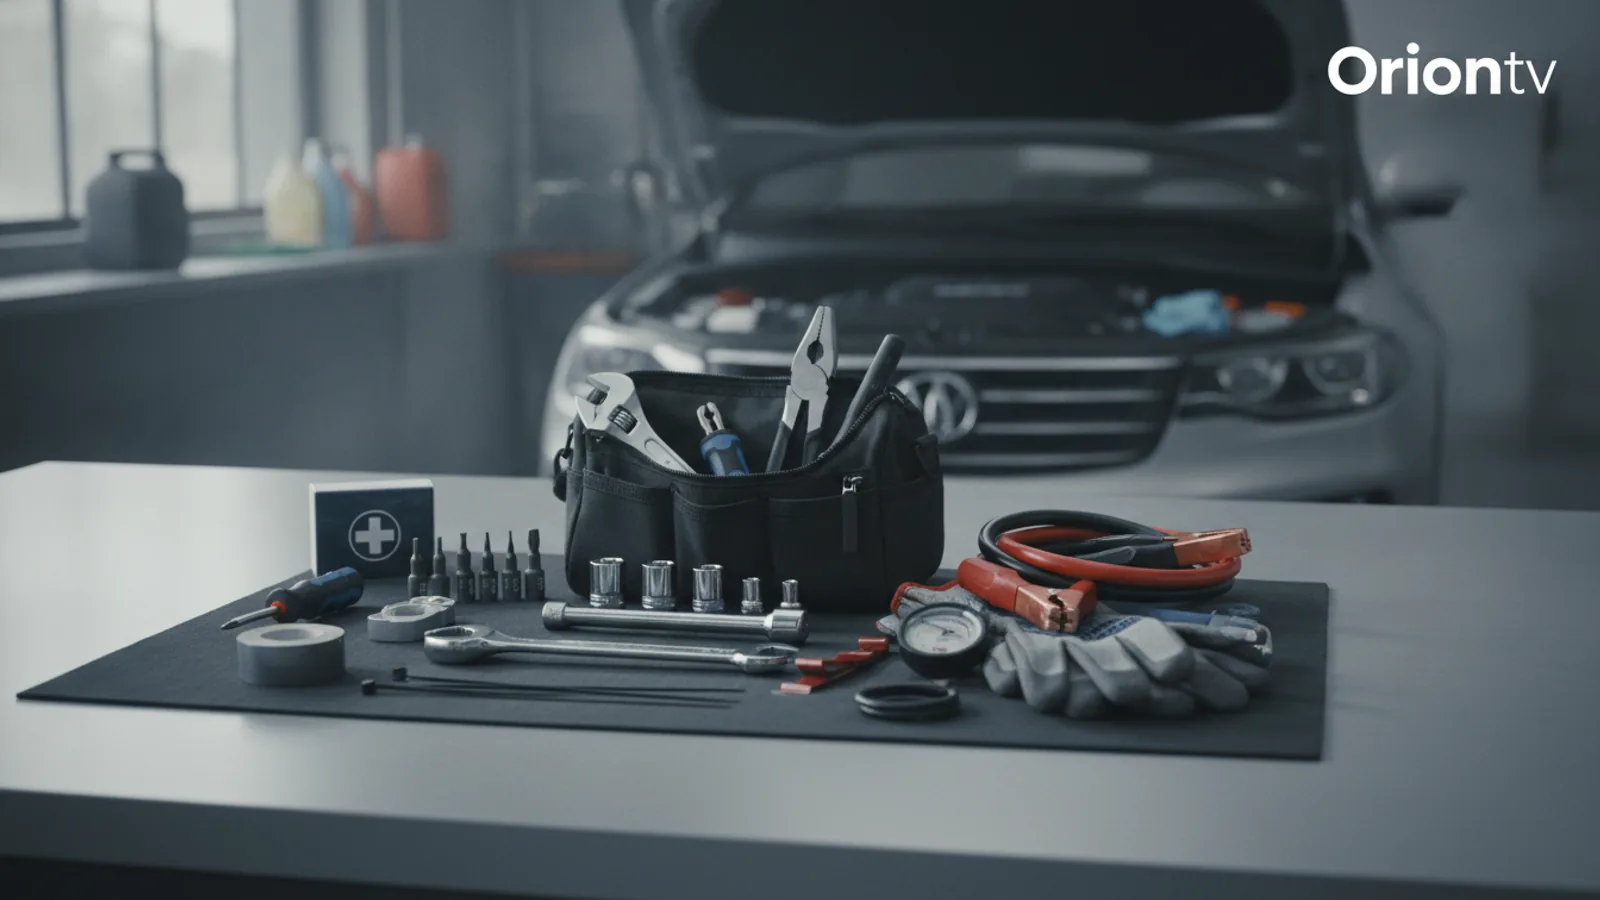
- Start with a basic set: a multi-tool, tire pressure gauge, portable air compressor, jumper cables, flashlight, gloves, and a basic wrench or socket set. These cover about 90% of common roadside issues.
- Store your toolkit in a compact, durable bag or box that fits under a seat or in a corner of the trunk. Keep it clearly labeled and check its contents every three months to replace missing or worn items.
Before You Start
- Check your vehicle's owner's manual to note the recommended tire pressure, jack points, and towing hooks. This tells you which tools are essential and how to use them safely.
- Gather a checklist of common roadside problems: flat tire, dead battery, overheated engine, loose battery terminal, and bulb failure. Decide which of these you are likely to encounter and can handle yourself.
- Measure the space you plan to use for your toolkit, such as a trunk cubby or under-seat area. This helps you choose a bag or box that fits without rolling around.
- Collect basic supplies from your home: a sturdy bag, a small towel, disposable gloves, and any old tools that are still functional. You will be selecting and packing these into your final kit.
Step-by-Step Instructions
Choose a Durable Container
Select a compact, sturdy bag or box that can survive being tossed around in your trunk. A soft-sided tool bag with a wide opening and multiple pockets is ideal because it lets you organize items by type. A rigid plastic case is also good, especially if you want stackable trays. Measure the space you set aside in your car to ensure the container fits without sliding under the brakes or seats. Check that the container has a secure closure, such as a strong zipper or latches, to keep items from spilling out. This is important because a scattered toolkit is useless in an emergency. A container that is too large defeats the purpose of being compact, so choose one that is just big enough for your selected items. Look for one with a handle or strap for easy carrying from the car to the trouble spot.
Add the Multi-Tool and Basic Wrenches
Start with a quality multi-tool that includes pliers, wire cutters, a knife, screwdrivers, and maybe a small saw. This single item replaces many individual tools. Then add a small set of combination wrenches (both open-end and box-end) in common metric and standard sizes, such as 8, 10, 12, 13, and 14 millimeters, plus 3/8 and 7/16 inches. Also include a socket wrench with a few deep sockets to match your car's bolts. You use these to tighten loose battery terminals, remove a bolt, or adjust a hose clamp. Check that the multi-tool's knife is sharp and the wrenches fit snugly on nuts without slipping. This is critical because a slipping wrench can strip a bolt head, turning a minor issue into a major repair. Keep these tools in a side pocket of your bag so they do not scratch other items.
Pack Tire Maintenance Supplies
Include a reliable tire pressure gauge and a portable air compressor that plugs into your car's 12-volt outlet. A pressure gauge helps you check tire inflation, and a compressor lets you add air. You should also carry a tire repair kit with plugs and a reaming tool, though this is only for temporary fixes. Before packing, verify that the compressor's cord is long enough to reach all four tires, and that the gauge is accurate by comparing it to a known good one. Practicing using the compressor on a tire at home is wise so you are comfortable when it matters. This is important because underinflated tires reduce fuel efficiency and can cause blowouts. If your car has a spare tire, also include a lug wrench and a jack, but these often come with the vehicle. If you have run-flat tires, skip the spare and rely on the compressor and a sealant can, but check your manual first.
Include Jumper Cables and Emergency Light
Add a pair of jumper cables with at least 10-gauge wire and clamps that are large enough to grip battery terminals securely. Also include a powerful LED flashlight with extra batteries, or a rechargeable one that you can charge from the car. Before packing, practice connecting the cables to a safe battery to ensure you know the correct order: positive to positive, then negative to a metal ground on the dead car. This is crucial because connecting cables incorrectly can cause sparks, damage the car's electronics, or even cause a battery explosion. The flashlight is essential for working at night and for signaling for help. Check that the lens is clean and the light is bright enough to illuminate the engine bay. Keep these items in an accessible outer pocket so you can grab them without unpacking everything else.
Add Simple Safety and Repair Aids
Pack a pair of heavy-duty work gloves, a few disposable gloves, a small towel, a small roll of duct tape, and a few cable ties. These basics are useful for protecting yourself from dirt, oil, and sharp edges, and for making temporary fixes like covering a torn hose or securing a loose wire. Include a small bottle of tire sealant for emergencies, but use it only if you cannot use the spare. Also consider a small fire extinguisher rated for electrical and fuel fires, but only if you have space and know how to use it. Before packing, test that the gloves fit well and the tape is not old and brittle. This is important because these aids can be improvised in many situations, and they add no bulk. They are the difference between finishing a repair and stopping because you cut your hand or lack a basic item.
Assemble and Test Your Toolkit
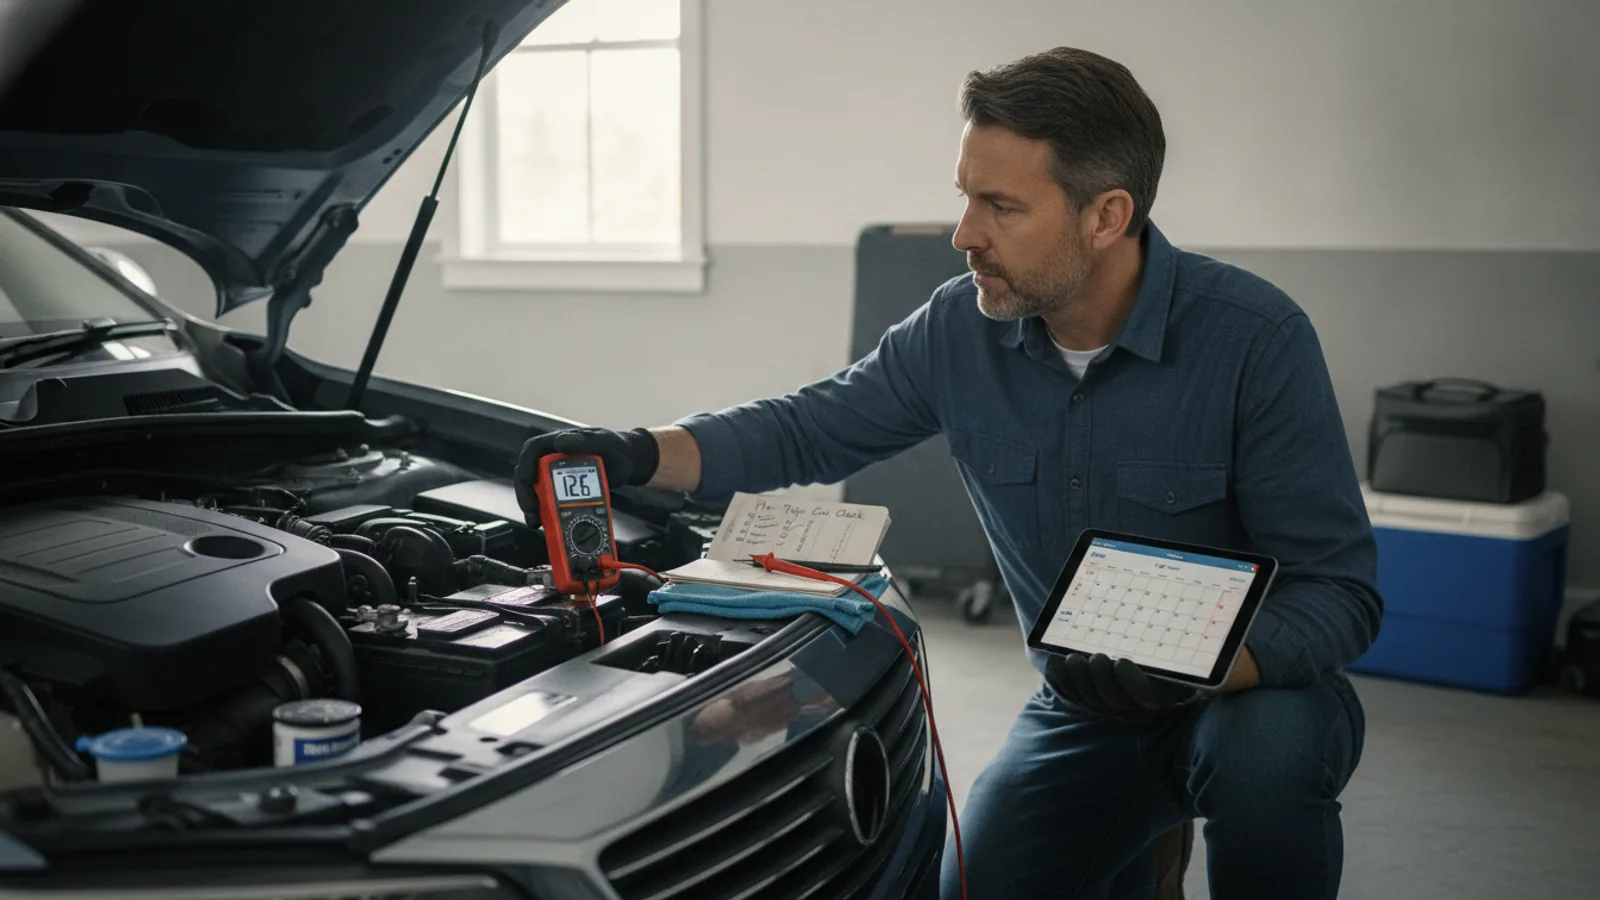
Place all your chosen items into the container, using the pockets and straps to keep everything secure. Make a quick list of the contents and tape it to the inside of the lid. Then, on a weekend, find a safe, empty parking lot and perform a practice session: change a tire, jump-start your car with another battery (or use a portable jump starter), and inflate a tire using your compressor. This hands-on test helps you locate missing items or tools that do not fit well. After the test, restock any used items and confirm everything is in working order. This is crucial because a kit that looks complete but has a dead flashlight or a broken wrench is worse than none. Finally, set a reminder to check the kit every three months to replace batteries, refill used items, and update your inventory as your car changes.
Quick Reference
| Situation | Action | Why it helps |
|---|---|---|
| Tire is visibly low but still holds air | Park on a flat surface, engage the parking brake, find the recommended pressure for your tires, use the gauge to check the current pressure, and then attach the air compressor to fill to the correct level. Recheck with the gauge and adjust. | Driving on an underinflated tire risks a blowout and reduces fuel efficiency. Immediate attention avoids a more serious flat. |
| Car will not start and dashboard lights dim | Turn off all accessories, connect the jumper cables in the correct order, start the donor car, wait a few minutes, then start your car. Leave both cars running for several minutes, then disconnect in the reverse order. | A dim dashboard suggests a dead battery. Following the correct sequence prevents sparks and electrical damage. |
| Electricity works but a headlight is out | Open the hood and locate the connector behind the headlamp assembly. Twist the bulb socket counterclockwise, pull it out, and check if the filament is broken. If it is, replace with the correct bulb type from your kit. | A burnt filament is the usual cause of a failing headlight. Swapping it yourself is quick and saves a trip to a mechanic. |
Common Issues
- You accidentally pump air into a tire and it becomes overinflated.: If the pressure exceeds the recommended level by more than a few PSI, press the small pin in the valve stem with a tire gauge to release air until the gauge shows the correct number. Do not drive with overinflated tires as they lose traction and wear unevenly.
- Your jumper cable clamps are too small for your battery terminals.: Use a pair of Vise-Grip pliers from your toolkit to clamp onto the battery terminal and then attach the jumper cable to the pliers. Make sure the pliers have a good grip and metal-to-metal contact. Alternatively, use a portable jump starter that does not require reaching the battery.
- The flashlight battery dies right when you need it.: Keep a spare set of batteries stored in a small waterproof container inside your kit, or use a rechargeable flashlight and charge it from the car's outlet. Always check the flashlight's charge when you check the rest of the kit.
Advanced Tips
- Add a portable power bank that can start a car and charge your phone; it saves you from needing another vehicle, but check its charge status monthly.
- Use a magnetic tray to hold screws and small parts while you work; it helps you avoid losing fasteners in the grass or dark.
- Store a small can of silicone spray to lubricate door hinges or weather stripping, preventing wear in extreme temperatures.
Final Checklist
- Confirm your toolkit bag is securely fastened and does not shift while driving.
- Verify the air compressor and flashlight have power and are fully functional.
- Inspect consumables like duct tape, cable ties, and gloves; replace any that are brittle or used.
- Place the tools back in their designated spots and update your contents list if you added or removed anything.
FAQ
How often should I inspect my compact toolkit?
Check your toolkit every three months, or before a long trip. At each check, verify that all items are present, batteries are charged, and nothing is corroded or expired. Replace any used items, such as duct tape or gloves. Seasonal changes may also call for adding a scraper or extra pair of gloves.
What should I do if I don't have a spare tire?
If your car uses run-flat tires or a repair kit, rely on a portable air compressor and a sealant. Always read your owner's manual to know the safe distance you can travel on a run-flat. Regularly check the tire pressure and avoid driving on severely damaged tires. Your toolkit should include a strong flashlight and gloves to handle the sealant.
Can I include a fire extinguisher in my compact toolkit?
Yes, but only if you have space and are trained to use it. Choose a small extinguisher rated for Class B and C fires. Mount it securely in a holder to prevent rolling. Periodically check the pressure gauge, and practice using an old or disposable extinguisher once. In an engine fire, pop the hood slightly, aim at the base, and call the fire department.