How To Plan A Simple Seasonal Maintenance Routine For A Daily Driver
A practical step-by-step guide to how to plan a simple seasonal maintenance routine for a daily driver, including preparation, instructions, common issues, tips, and next steps.
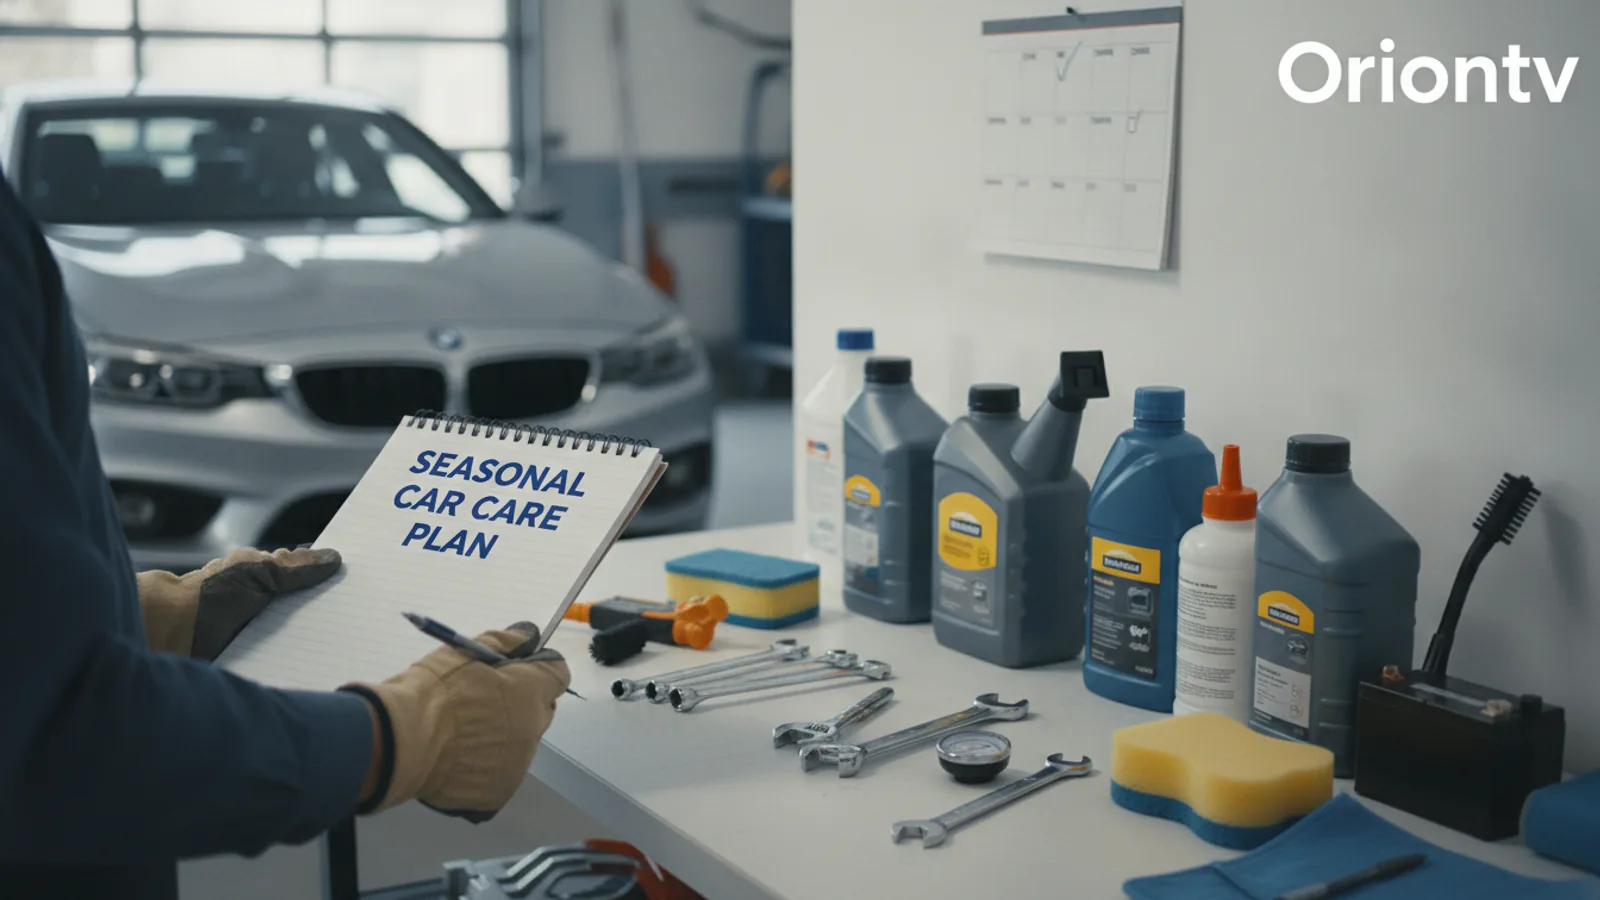
How To Plan A Simple Seasonal Maintenance Routine For A Daily Driver
Keeping a daily driver reliable doesn't require expensive shop visits or special skills. A simple seasonal maintenance routine helps you catch small issues before they become big problems. This guide walks you through creating a practical, easy-to-follow schedule that fits into your normal routine. You will learn what to check, how to check it, and why each check matters, so you can drive with confidence all year long. The focus is on simple tasks you can do yourself, using common tools and basic knowledge. By spending a short time each season, you protect your car, your wallet, and your safety. No jargon, no complexity – just clear steps that work for any daily driver.
Fast Answer
- Create a seasonal checklist covering fluids, tires, battery, lights, belts, and wipers. Spend 30 minutes each season inspecting these items and fixing minor issues before they escalate.
- Adjust your routine based on the season: winter demands antifreeze and battery checks, while summer requires coolant and tire pressure attention. Use your owner's manual as a baseline.
Before You Start
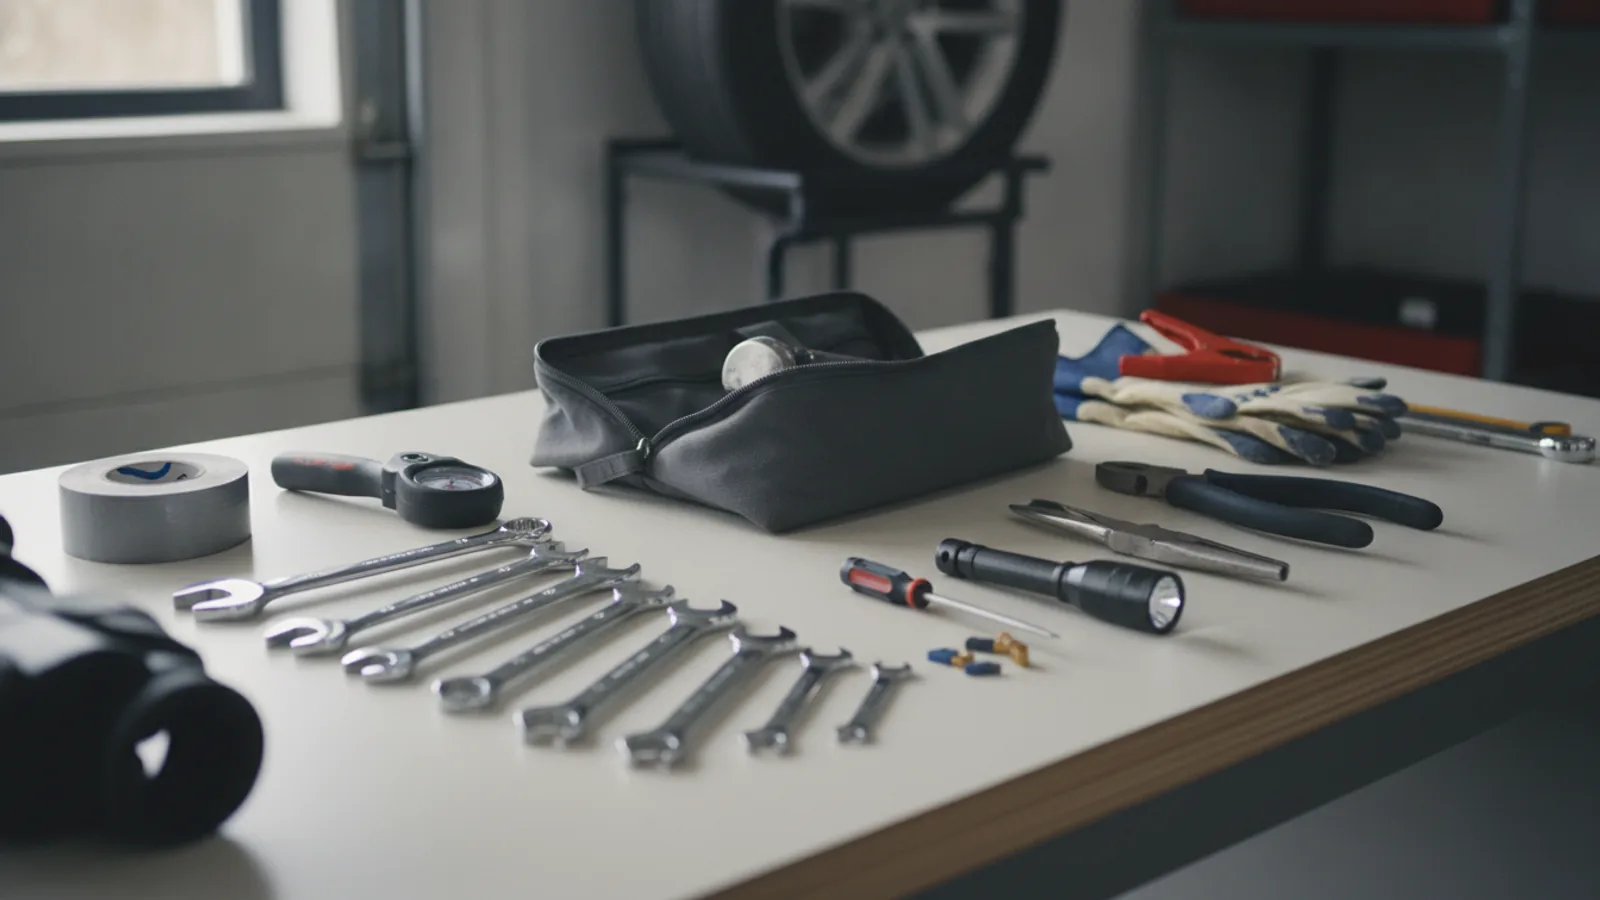
- Gather basic tools: a tire pressure gauge, a flashlight, a clean rag, and a small adjustable wrench. You may also need a screwdriver and pliers.
- Locate your owner's manual and review the maintenance schedule. It lists recommended intervals for fluid changes, belt inspections, and other services specific to your vehicle.
- Set aside 30 minutes on a weekend when the engine is cool and the car is on a flat surface. This ensures accurate readings and safe handling.
- Check the weather forecast for your area for the upcoming season. This helps you prioritize items like antifreeze, wiper blades, or tire changes.
Step-by-Step Instructions
Inspect Fluids and Top Them Off
Start by popping the hood and visually inspecting the engine oil, coolant, brake fluid, windshield washer fluid, and power steering fluid (if applicable). For each reservoir, check the level against the marked lines. If any are low, add the type of fluid specified in your owner's manual. Use a funnel to avoid spills. While you are in there, look at the fluid colors: engine oil should be amber or dark brown but not milky; coolant should be bright green, orange, or pink. If any fluid looks dirty, smells burnt, or has particles, it may need to be flushed or replaced. This check ensures your engine stays lubricated and cool, preventing wear and overheating. It takes only five minutes and is the simplest way to avoid major breakdowns. Always use plastic gloves and dispose of old fluids properly.
Examine Tires and Pressure
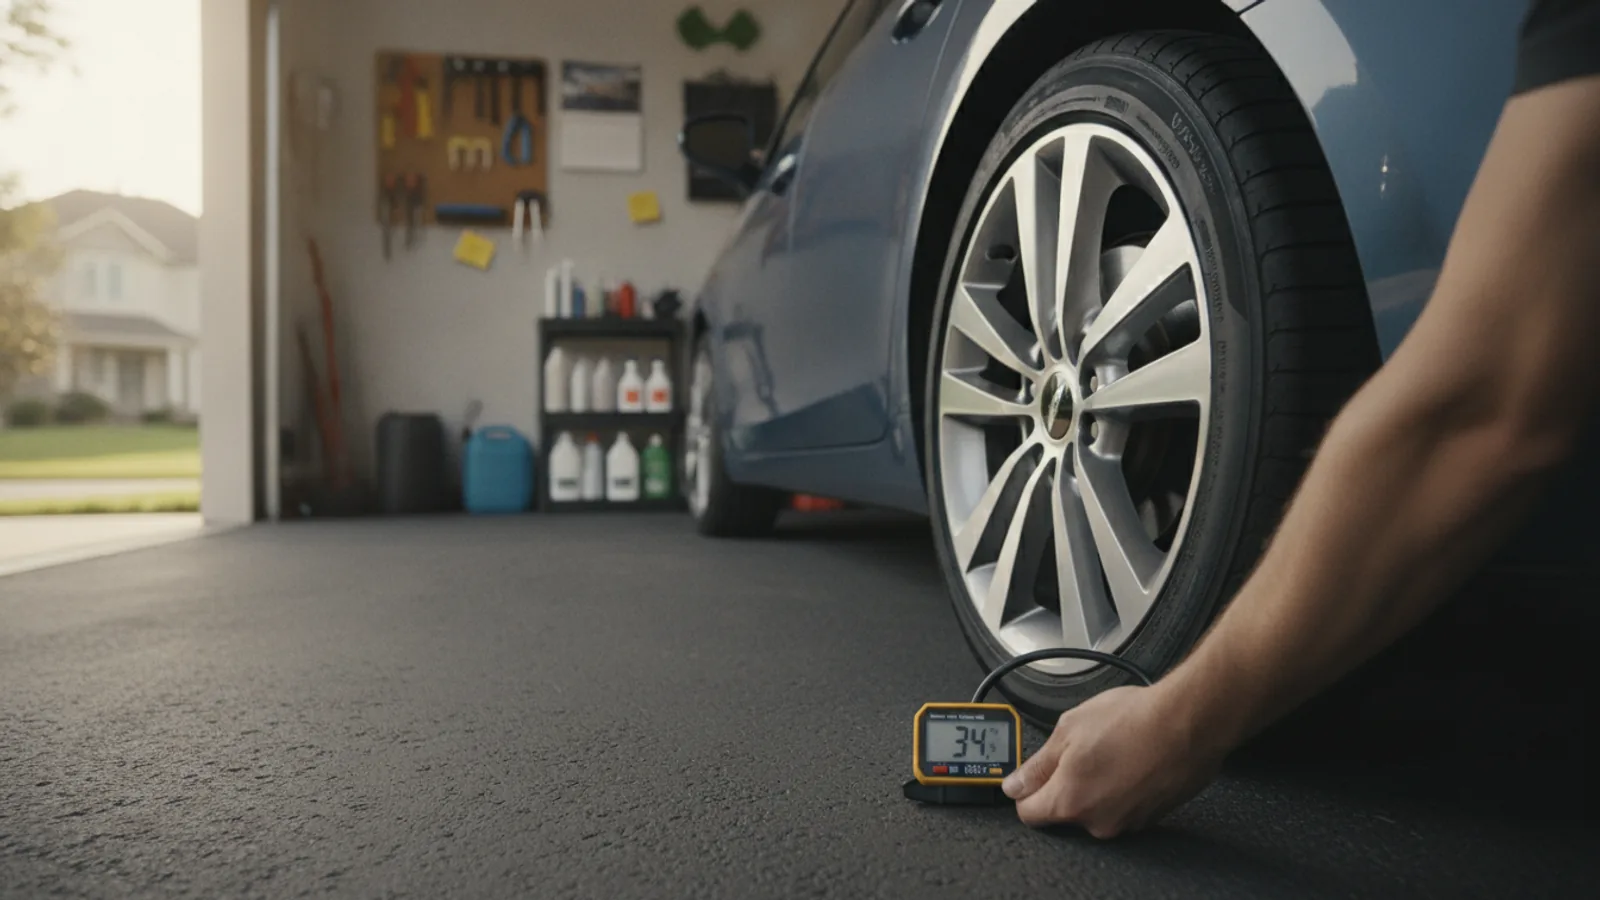
Check tire pressure when tires are cold – that is, before driving or at least three hours after. Use a reliable gauge and compare the reading to the pressure listed on the sticker inside the driver's side door frame, not the number on the sidewall. Adjust pressure with an air pump. While you are at it, inspect each tire for cuts, bulges, or uneven wear. Use the penny test to measure tread depth: insert a penny upside down into the tread – if you can see the top of Lincoln's head, the tread is too shallow. Also look for small stones or nails stuck in the grooves. Even wear across all four tires indicates good alignment. Proper tire pressure improves fuel economy, handles better, and reduces the risk of blowouts. Uneven wear might mean alignment issues, so catch it early to avoid premature replacement. Rotating tires is an extra step, but check your manual for recommended interval.
Test Battery and Clean Terminals
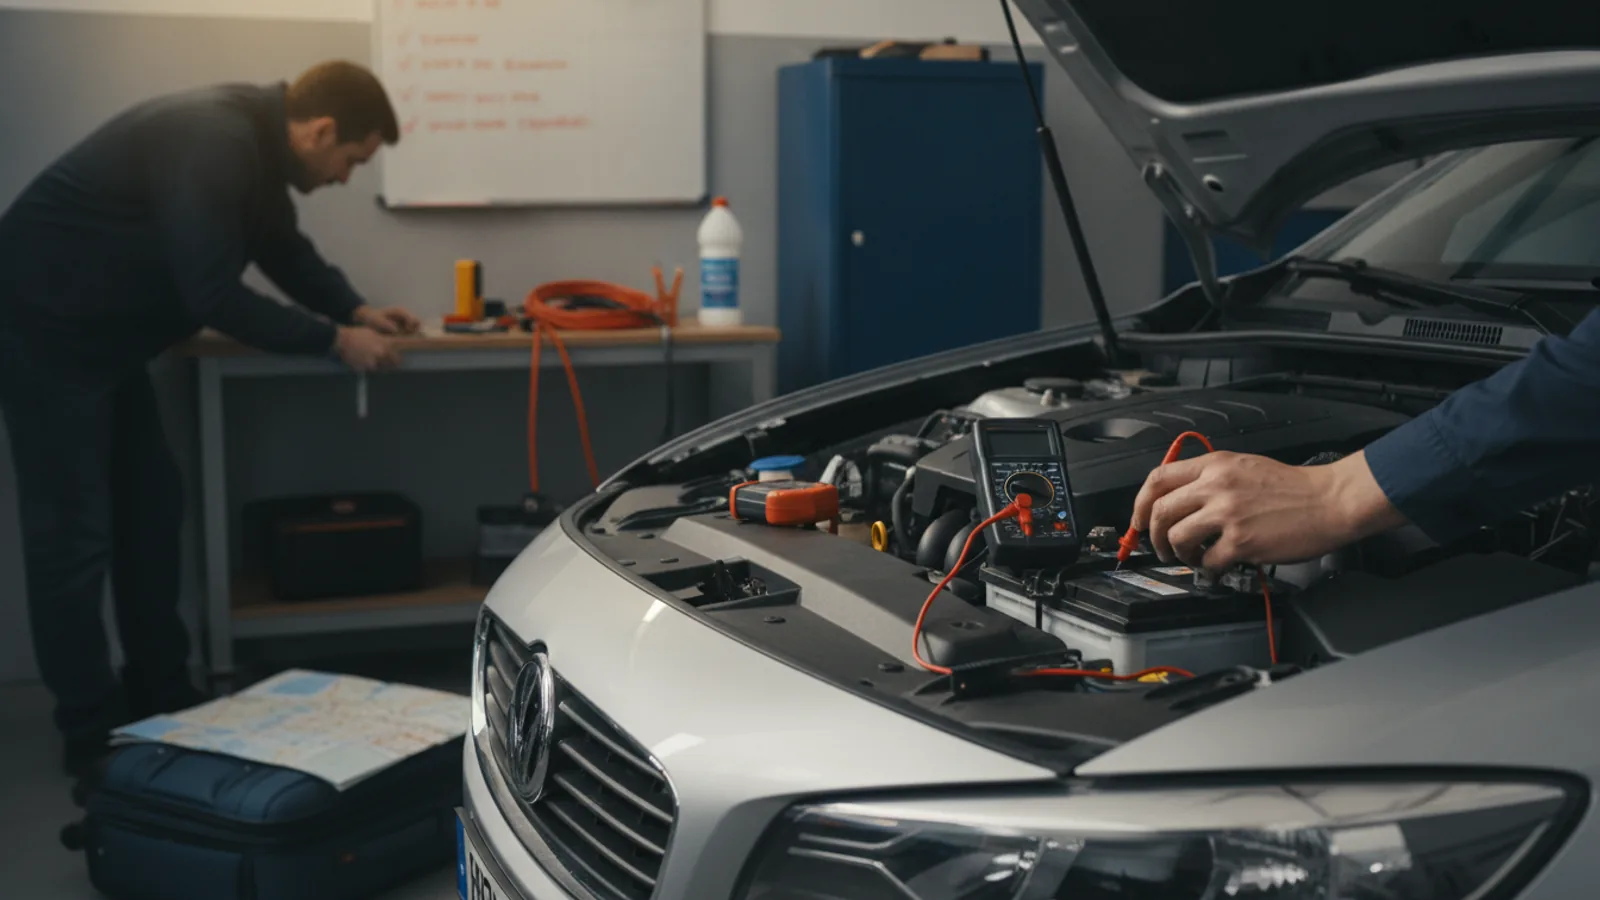
Look at the battery for any cracks, swelling, or corrosion on the posts. Corrosion looks like white or blue powdery crystals. If present, disconnect the negative cable first (use a wrench to loosen the nut), then clean the posts and cable ends with a wire brush dipped in a baking soda and water mixture. Wipe them dry and reconnect, positive first, then negative. Check that the battery is held down snugly – a loose battery can vibrate and fail. If your car has a battery tester, you can check the voltage; a healthy battery should read around 12.4 volts when idle. But if you do not have one, you can test with a multimeter set to DC volts. Most auto parts stores will check it for free, but you can also do it yourself. A weak battery is the most common cause of a no-start, so this inspection is vital to avoid getting stranded. Also check the battery's age – if it is over three years old, consider having it load-tested.
Check Lights, Wipers, and Horn
Turn on your headlights and walk around the car to verify that both low and high beams work, as well as the turn signals, brake lights, tail lights, and reverse lights. Have a friend help you check the brake lights, or use a mirror. Look for any bulbs that are dim or flickering. Replace them with the correct type from your owner's manual – usually a simple socket twist or plug. Inspect the wiper blades for cracks, splits, or nicks. Gently pull each blade and run a finger along the rubber edge – if it feels rough or has lumps, replace them. Lift the wiper blades and give them a pull to see if they return firmly to the windshield. Also test the horn – it should sound clearly. Working lights and wipers are essential for visibility and for other drivers to see you, especially in rain, snow, or at night. Faulty lights are also a common reason for traffic stops. This check is quick and can be done in your driveway.
Evaluate Belts and Hoses
With the engine off and cool, visually examine the belts under the hood. Look for cracks, fraying, or a shiny glaze that indicates slipping. On most cars, you can press down on the belt between two pulleys – it should have a springiness and not feel loose or overly tight. Some belts have a serpentine belt that is self-tensioning, so do not pry on it; just inspect for wear. Also squeeze various rubber hoses, such as the heater hoses, to feel for brittleness. A good hose should be firm and spring back – if it is collapsed, hard, or has cracks, replace it. Pay close attention to the coolant hoses. Loose or broken belts can cause the alternator, water pump, or power steering to stop working, leading to overheating or a dead battery. A broken hose can leak coolant and cause your engine to overheat suddenly. You can replace most belts and hoses with basic tools, but if you are unsure, ask a professional.
Review Owner’s Manual for Seasonal Tasks
Spend a few minutes reading the maintenance section of your owner's manual, looking for anything specific to the upcoming season. For example, if you live in a cold climate, the manual might advise switching to a cold-weather oil viscosity or checking the coolant concentration. If you drive in hot weather, it might recommend upgrading to a higher temperature thermostat. The manual also specifies when to replace the air filter, spark plugs, or timing belt – but these are typically yearly or every 20,000 miles, so note them in a calendar. Since this is a seasonal routine, you should also check the cabin air filter – a dusty or clogged one reduces air quality. While you are in the manual, find out where the fuel filter is and its replacement interval. Some cars have a lifetime fuel filter, but others need periodic replacement. Bookmark the page for future reference. Knowing these details helps you tailor your routine to your car's specific needs.
Quick Reference
| Situation | Action | Why it helps |
|---|---|---|
| Engine oil dipping below the minimum mark on the dipstick. | Immediately add a quart of the oil type specified in your owner's manual, then recheck after a few minutes. Monitor for any drips on the ground to detect a leak. | Low oil can cause severe engine damage from lack of lubrication, leading to overheating and expensive repairs. |
| Tire pressure warning light comes on, or you visually see a slightly underinflated tire. | Pull over safely at the next station, inflate to the pressure listed on the driver's door sticker, and check all four tires. If the light stays on, inspect for nails or damage. | Underinflated tires reduce fuel economy and handling, and can overheat and blow out on hot pavements. |
| Coolant temperature gauge rises above normal while driving, or you notice steam from under the hood. | Immediately turn off the engine and let it cool down. Call for assistance or, if safe, carefully check the coolant level after the engine is cool. Do not open the radiator cap until cool. | Overheating can warp the engine head and destroy the motor. Early action prevents catastrophic damage. |
Common Issues
- Battery corrosion building up on the terminals.: Disconnect the negative cable, then the positive. Mix a tablespoon of baking soda with a cup of warm water and scrub the terminals with a wire brush. Rinse with plain water, dry, apply a anti-corrosion pad or grease, and reconnect.
- Wiper blades leaving streaks or skipping across the glass.: Clean the rubber edge with washer fluid. If streaks persist, replace the blades. For the rear wiper, check the pivot for obstruction. Use a quarter in a plastic bag to scrape off any ice if needed – but not while in motion.
- Windshield washer fluid nozzle clogged.: Use a pin or fine needle to gently clear the nozzle opening. Then, flush the system by spraying a few times. If it still sprays uneven, replace the nozzle – usually a simple clip-on piece.
Advanced Tips
- Use a battery load tester that connects to the posts to get a digital readout of cold-cranking amps. This is a more accurate health check than just voltage.
- Apply a thin layer of dielectric grease to the rubber weatherstripping around doors and trunk. This prevents sticking and keeps out water in any season.
- If you have a fuel-injected car, add a fuel-system cleaner to the gas tank once a year to clean injectors and intake valves.
- Allow your car to idle for 30 seconds after starting on cold mornings before driving. This lets oil circulate, but do not let it warm up for long minutes.
Final Checklist
- All fluid levels are within safe ranges and no leaks are visible.
- Tires have proper pressure, tread depth, and no obvious damage.
- Battery terminals are clean, tight, and the battery casing is secure.
- Headlights, brake lights, wipers, and horn all function correctly.
FAQ
How often should I do a seasonal maintenance check?
Aim to do a full inspection at the start of each season: winter, spring, summer, and fall. That gives you four checks a year. Each check takes about 30 minutes. If you drive in extreme conditions, like very hot summers or very cold winters, you may want to do a quick monthly look at fluids and tires.
Do I really need to check all these items if my car seems fine?
Yes, because many problems start small and give no warning until they fail. A slow fluid leak might not show on the dipstick until it is critically low. A slightly worn tire can cause a blowout at speed. Catching these early is the purpose of a scheduled routine, and it is far cheaper than fixing the aftermath.
What tools do I need to do this routine?
You need very few: a tire pressure gauge, a flashlight, a clean rag, a small adjustable wrench, and possibly a screwdriver. For the battery cleaning, you also need a wire brush and baking soda. A funnel for fluids is optional but helpful. All of these are inexpensive and can be bought at any auto parts store.